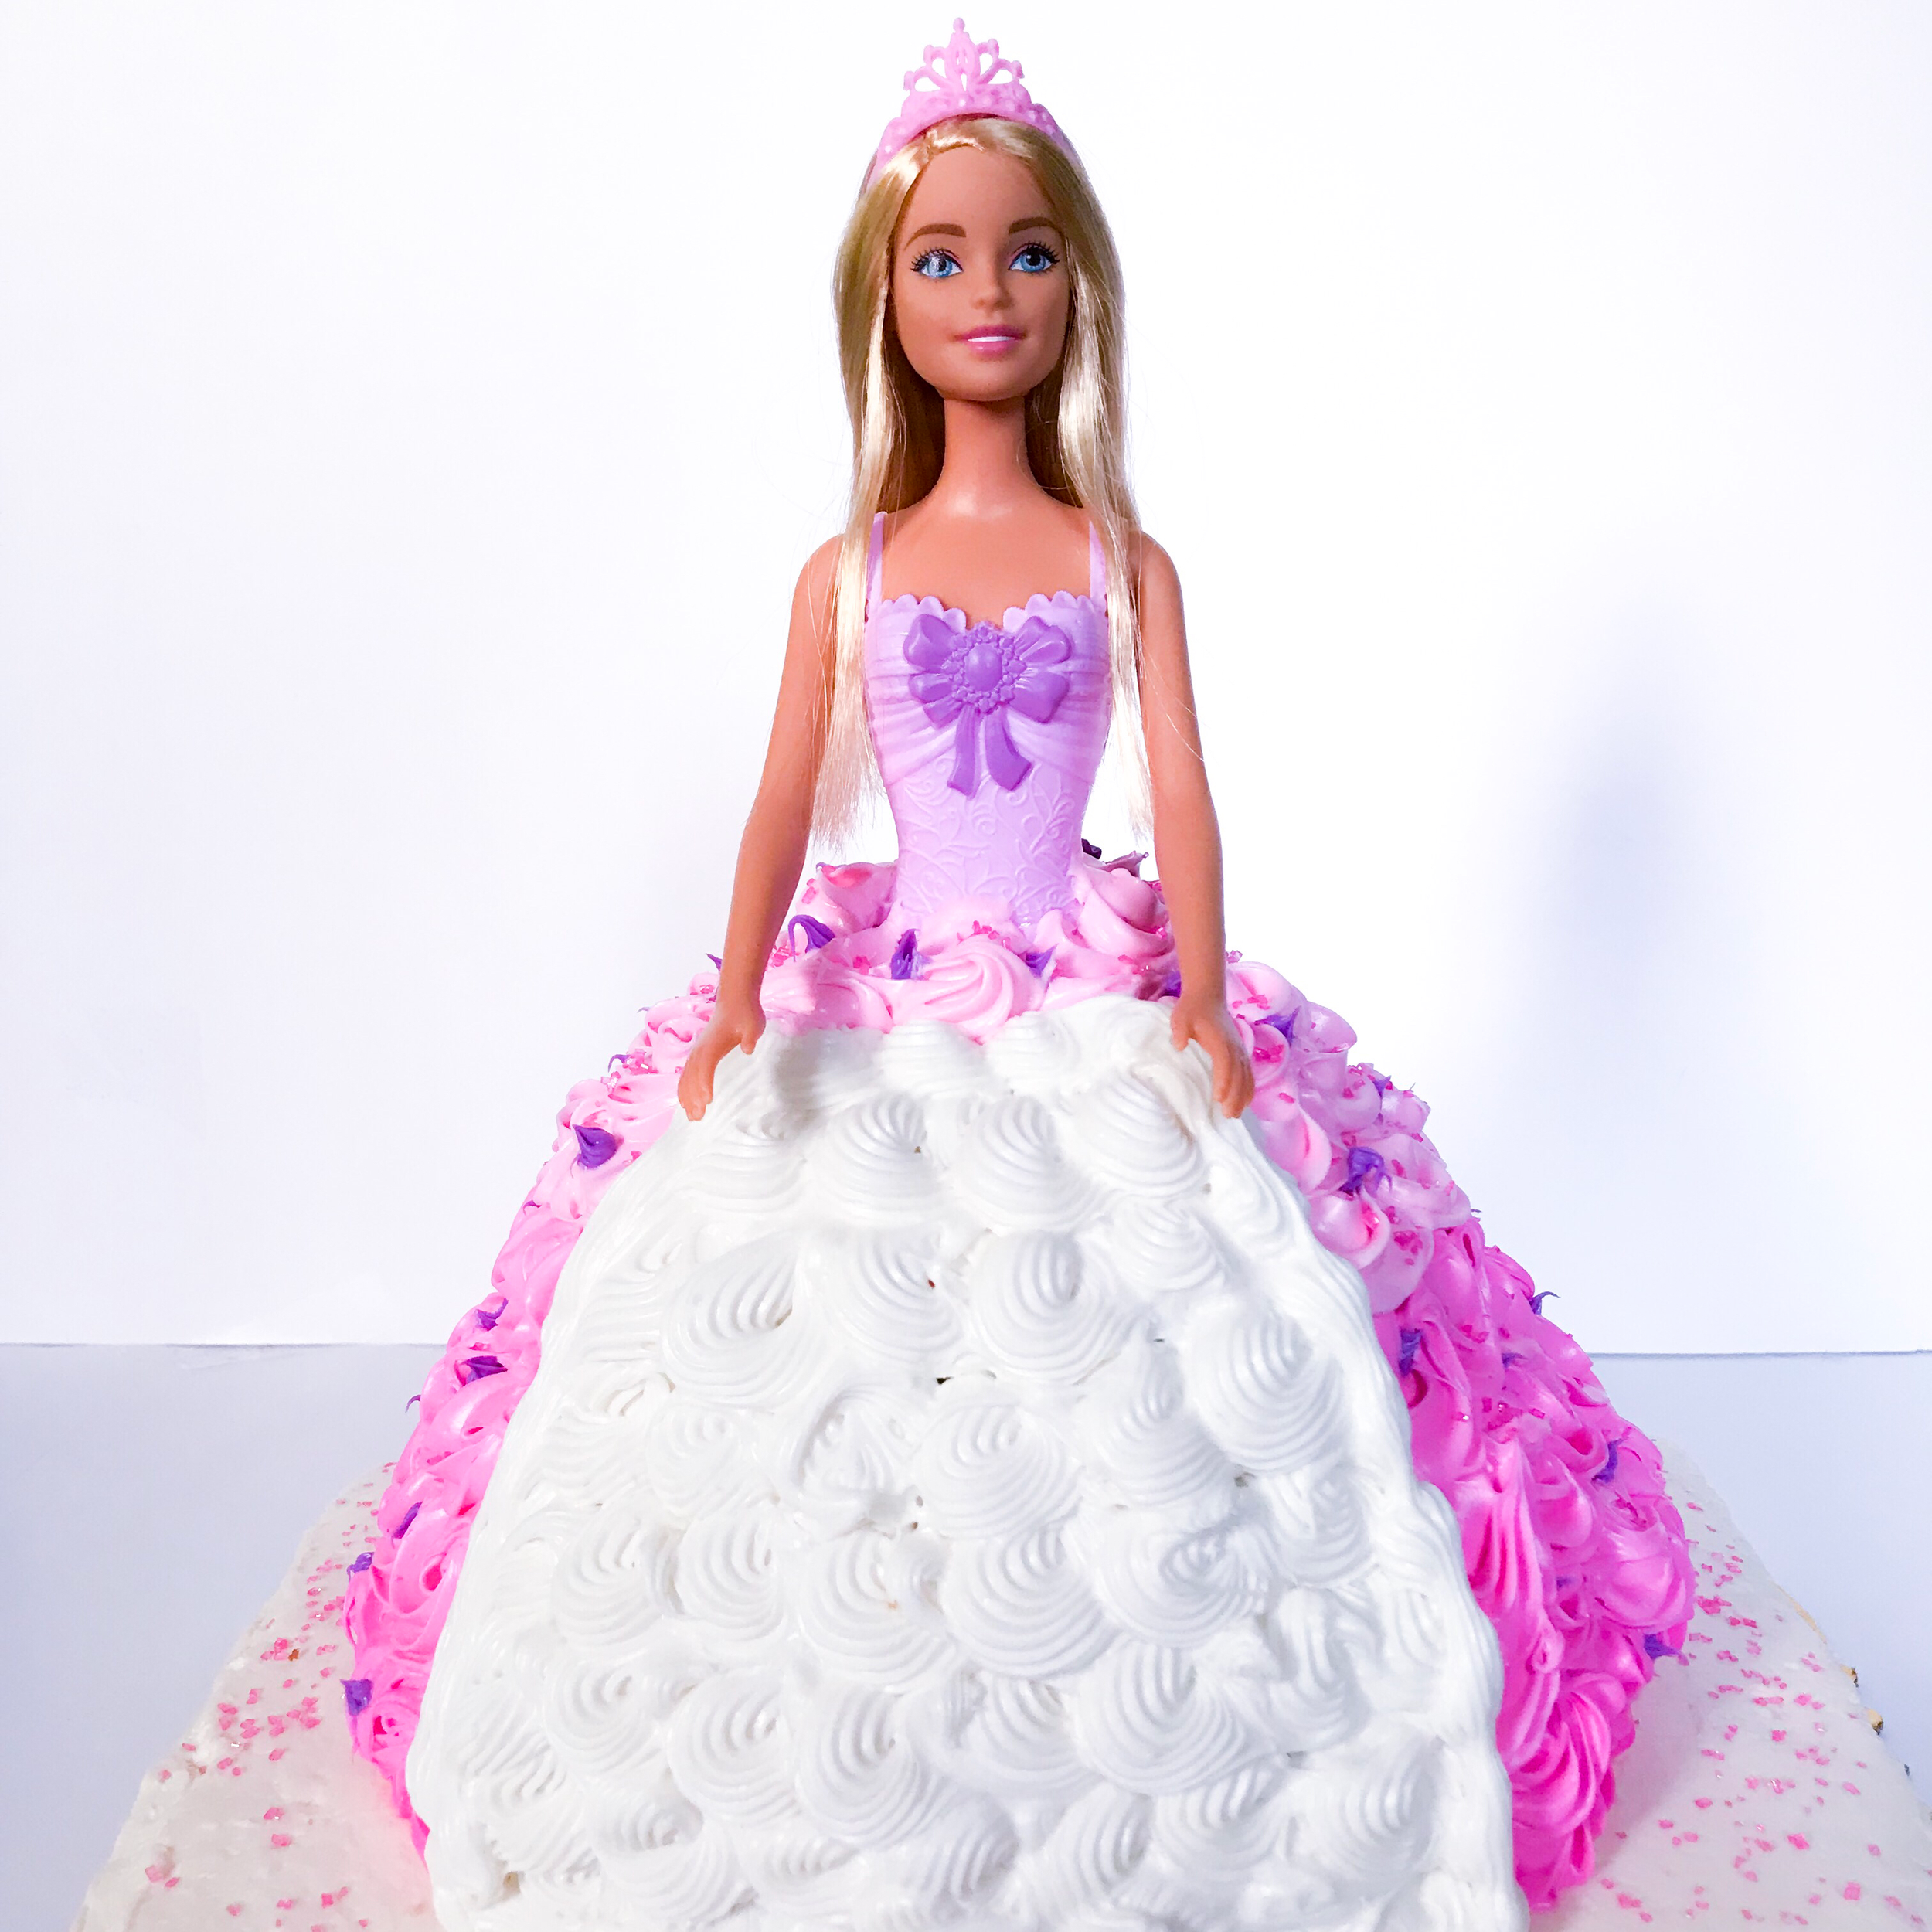
The Fun and Easy Way to Make a Barbie Inspired Cake
Making custom cakes is so much fun!
Welcome to one of the best tutorials to making your own doll birthday cake. I am not a professional cake designer, by all means, but I sure like to pretend I am! This is why my DIY Barbie inspired doll cake guide is so cool. I break down the steps by showing you the easiest way protect your doll, build up her dress (without a special tin), assemble your cake and give tips on how to decorate it too. It is one of the prettiest cakes you will ever make and almost anyone can do it (trust me). There is no better feeling than the moment you complete your sugary work-of-art and then get to eat it later.

Special Tips About Making This Type of Cake
Barbie may be a supermodel, amazon goddess from California, but she is heavy!! Here are some tips to know before starting:
1. The total weight of the cake will be heavy, especially if you have more than two layers. Make sure you have a strong platter or base to display her on.
2. You will go through a lot of frosting for her skirt. Even if you don’t use the same piping, as shown in my design, you may want to keep extra on hand.
3. Get a cake decorating turntable to make the piping go faster.
4. Have a photo of a real dress already picked out, one that you really like the design of and you can duplicate. You can easily search through Pinterest and Google for inspiration.
5. You will need to have at least four layers of cake (approx. 2” thickness) to have enough depth for Barbies legs. One way to achieve this is to continue to Tip #6.
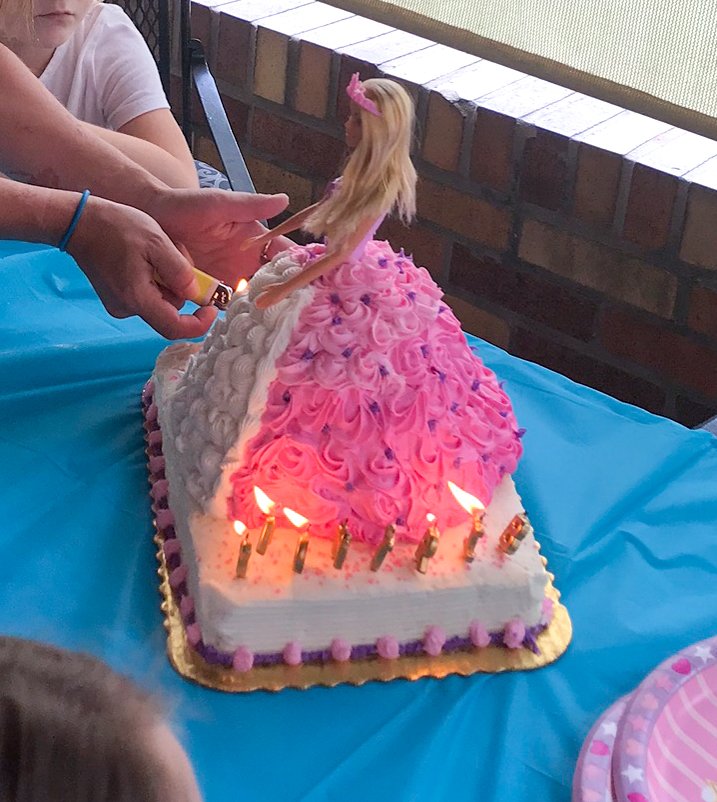
6. If you desire to make a cake that will feed a larger party, do what I did and build your dress on top of a sheet cake. It’s a simple way to increase the portion size without creating more work for yourself. I ordered this quarter sheet cake (plain white frosting with no piping) from my local bakery. By keeping the sheet cake on the smaller scale, I was still able to place it on my cake turntable.
Cake Supplies Needed
(1) Pre-packaged Cake Mix (or make from scratch)
(4) 16 oz Pre-made White Frosting (or make from scratch)
(Optional) ¼ Sheet Cake
(2) 8 in Round Cake Pans
(1) 6 in Round Cake Pan
Cake Cardboard Round
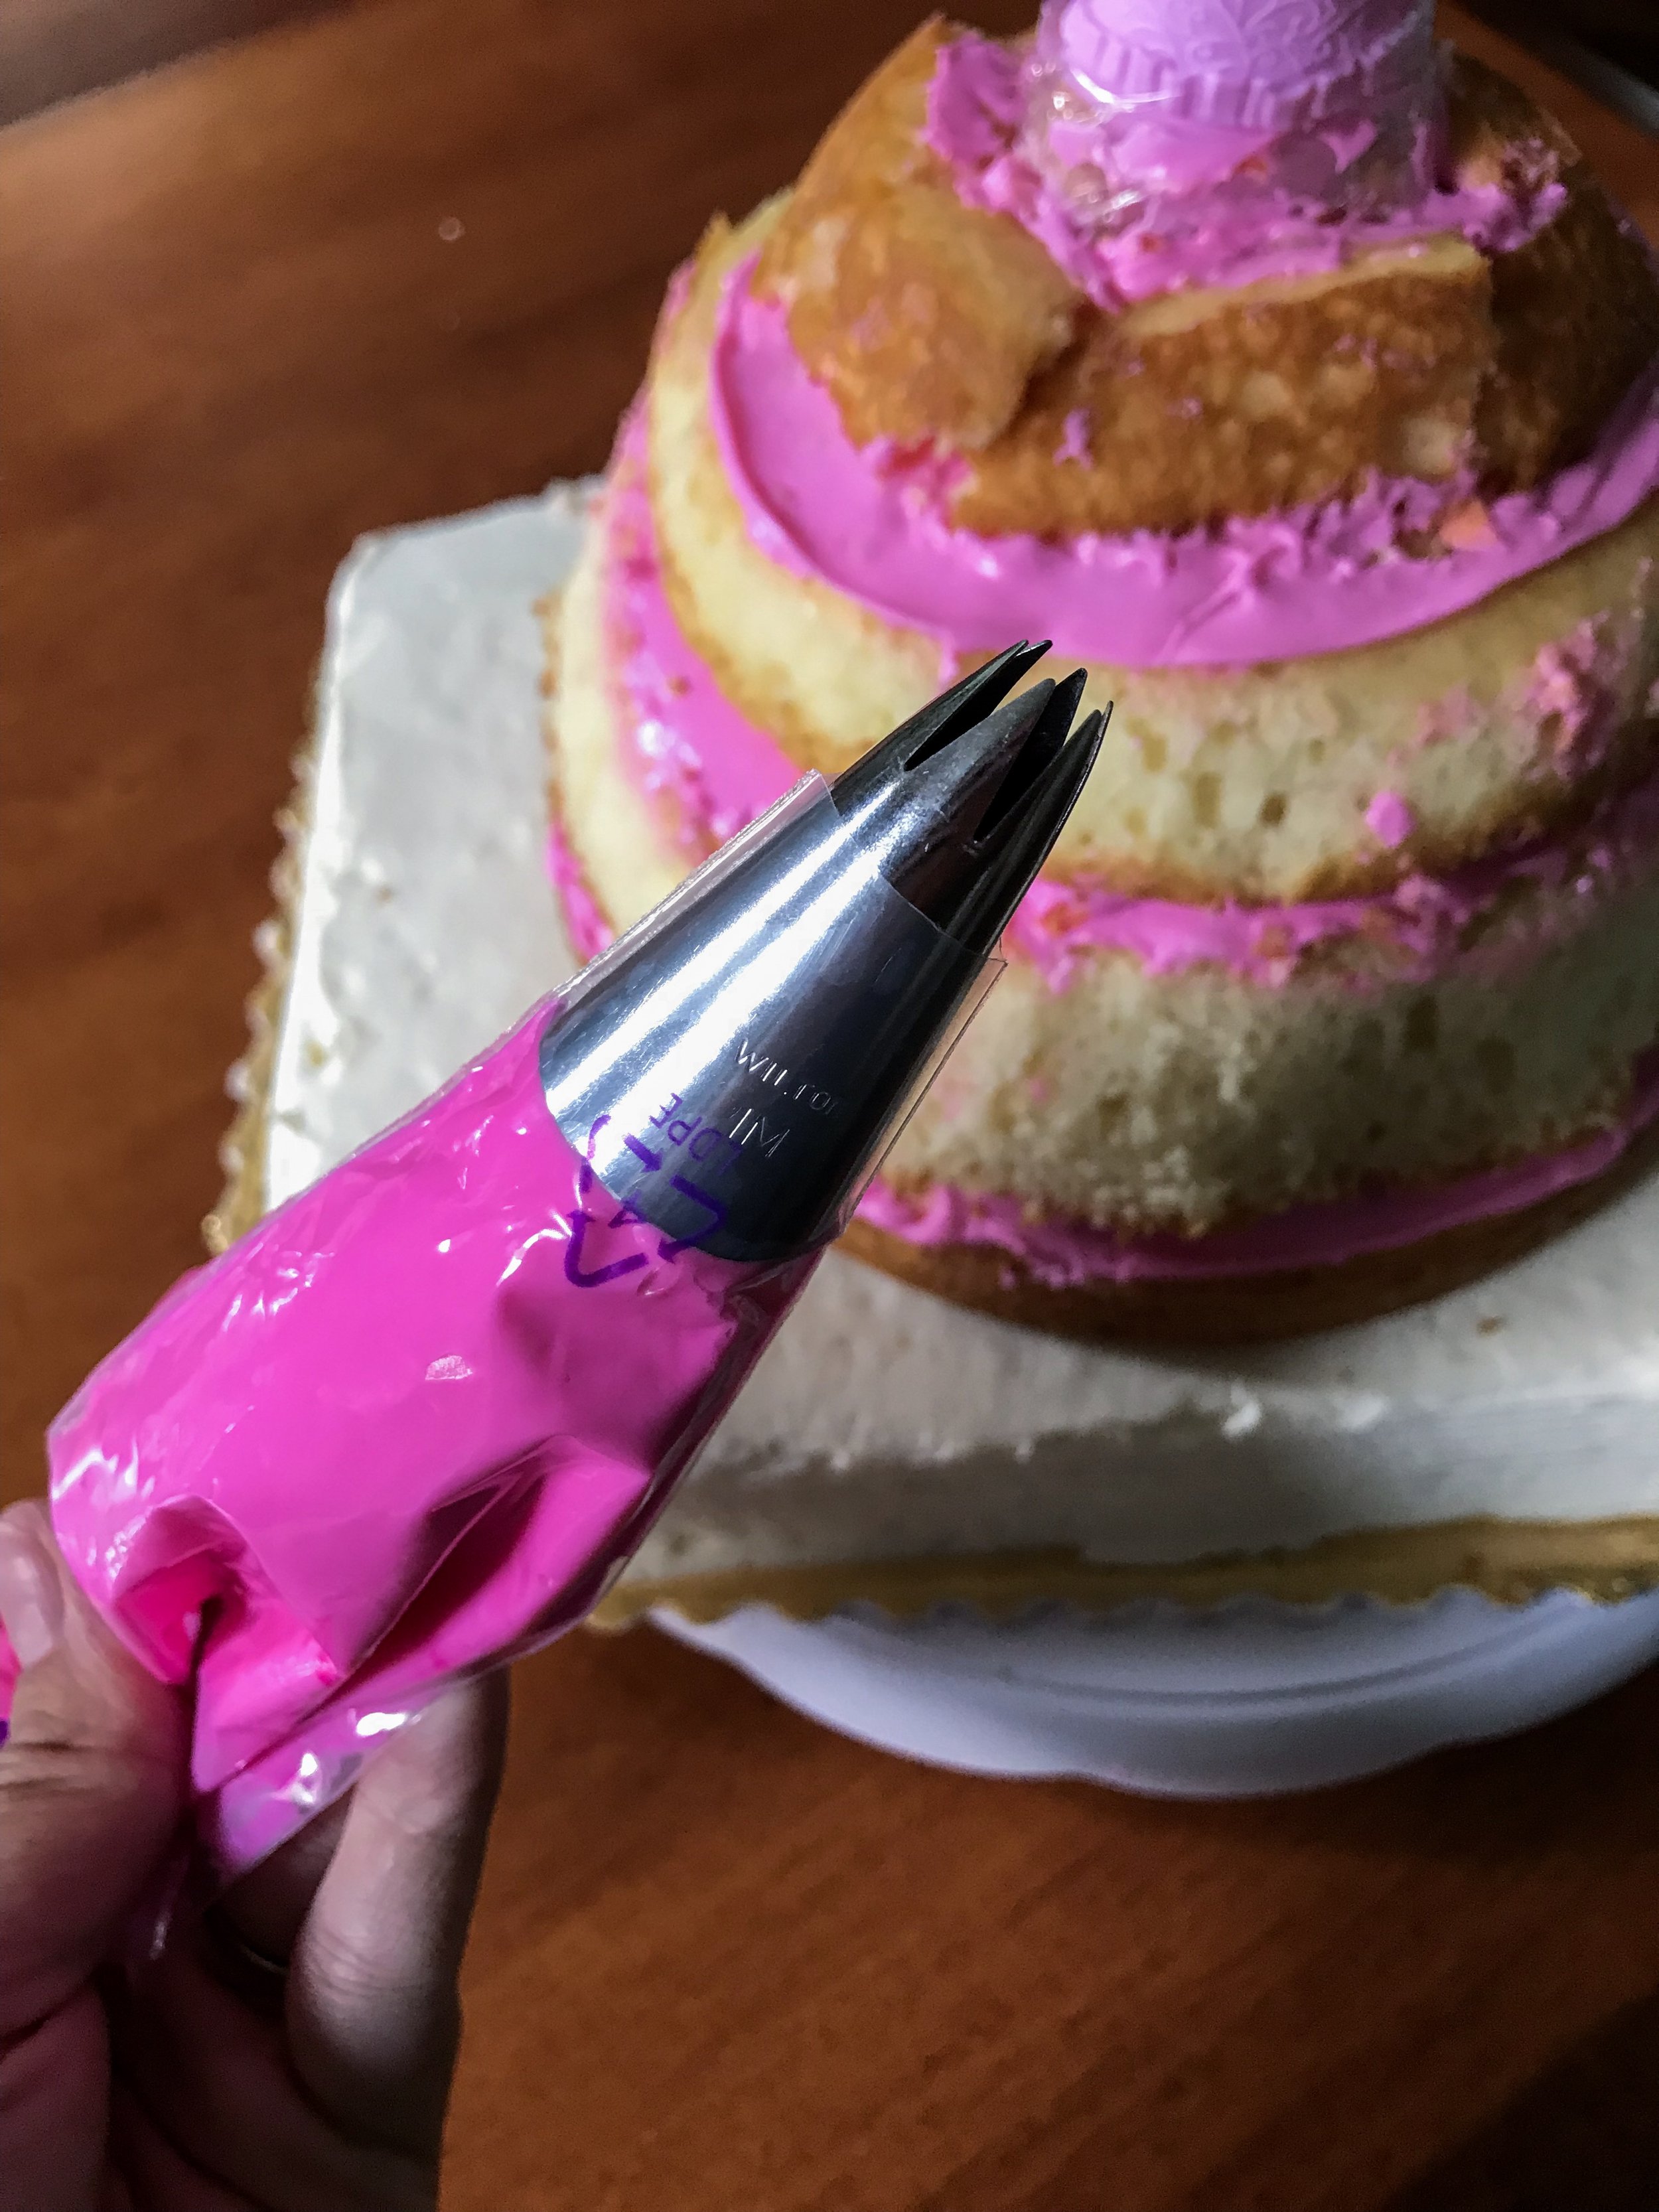
Wilton 1m Piping Tip (or your desired tip)
Pastry/Frosting Bags
Plastic Straw
Spatula
Sharp Knife
Cake Knife
Food Coloring
Cake Decorating Table
Barbie Doll
Clear Plastic Wrap
Let’s Get Started!
Optional Preparation - Pre-order your sheet cake (if desired), prep your workspace, and organize your refrigerator so you have room to store your masterpiece when you are finished.
Step 1 - Mix and bake all three cakes (both of the 8 inch rounds and one 6 inch round). Remove from tins and place to cool.
Trim the top of each cake as needed because you want them as level as can be.

Step 2 - While the cakes are cooling, mix all of the colors of frosting you will be using for piping the skirt (I used Wilton Pink Icing Color).
This is where already having a dress design in mind comes in handy.

Shop Craftin Nikki for your favorite tulle hair bows and accessories.


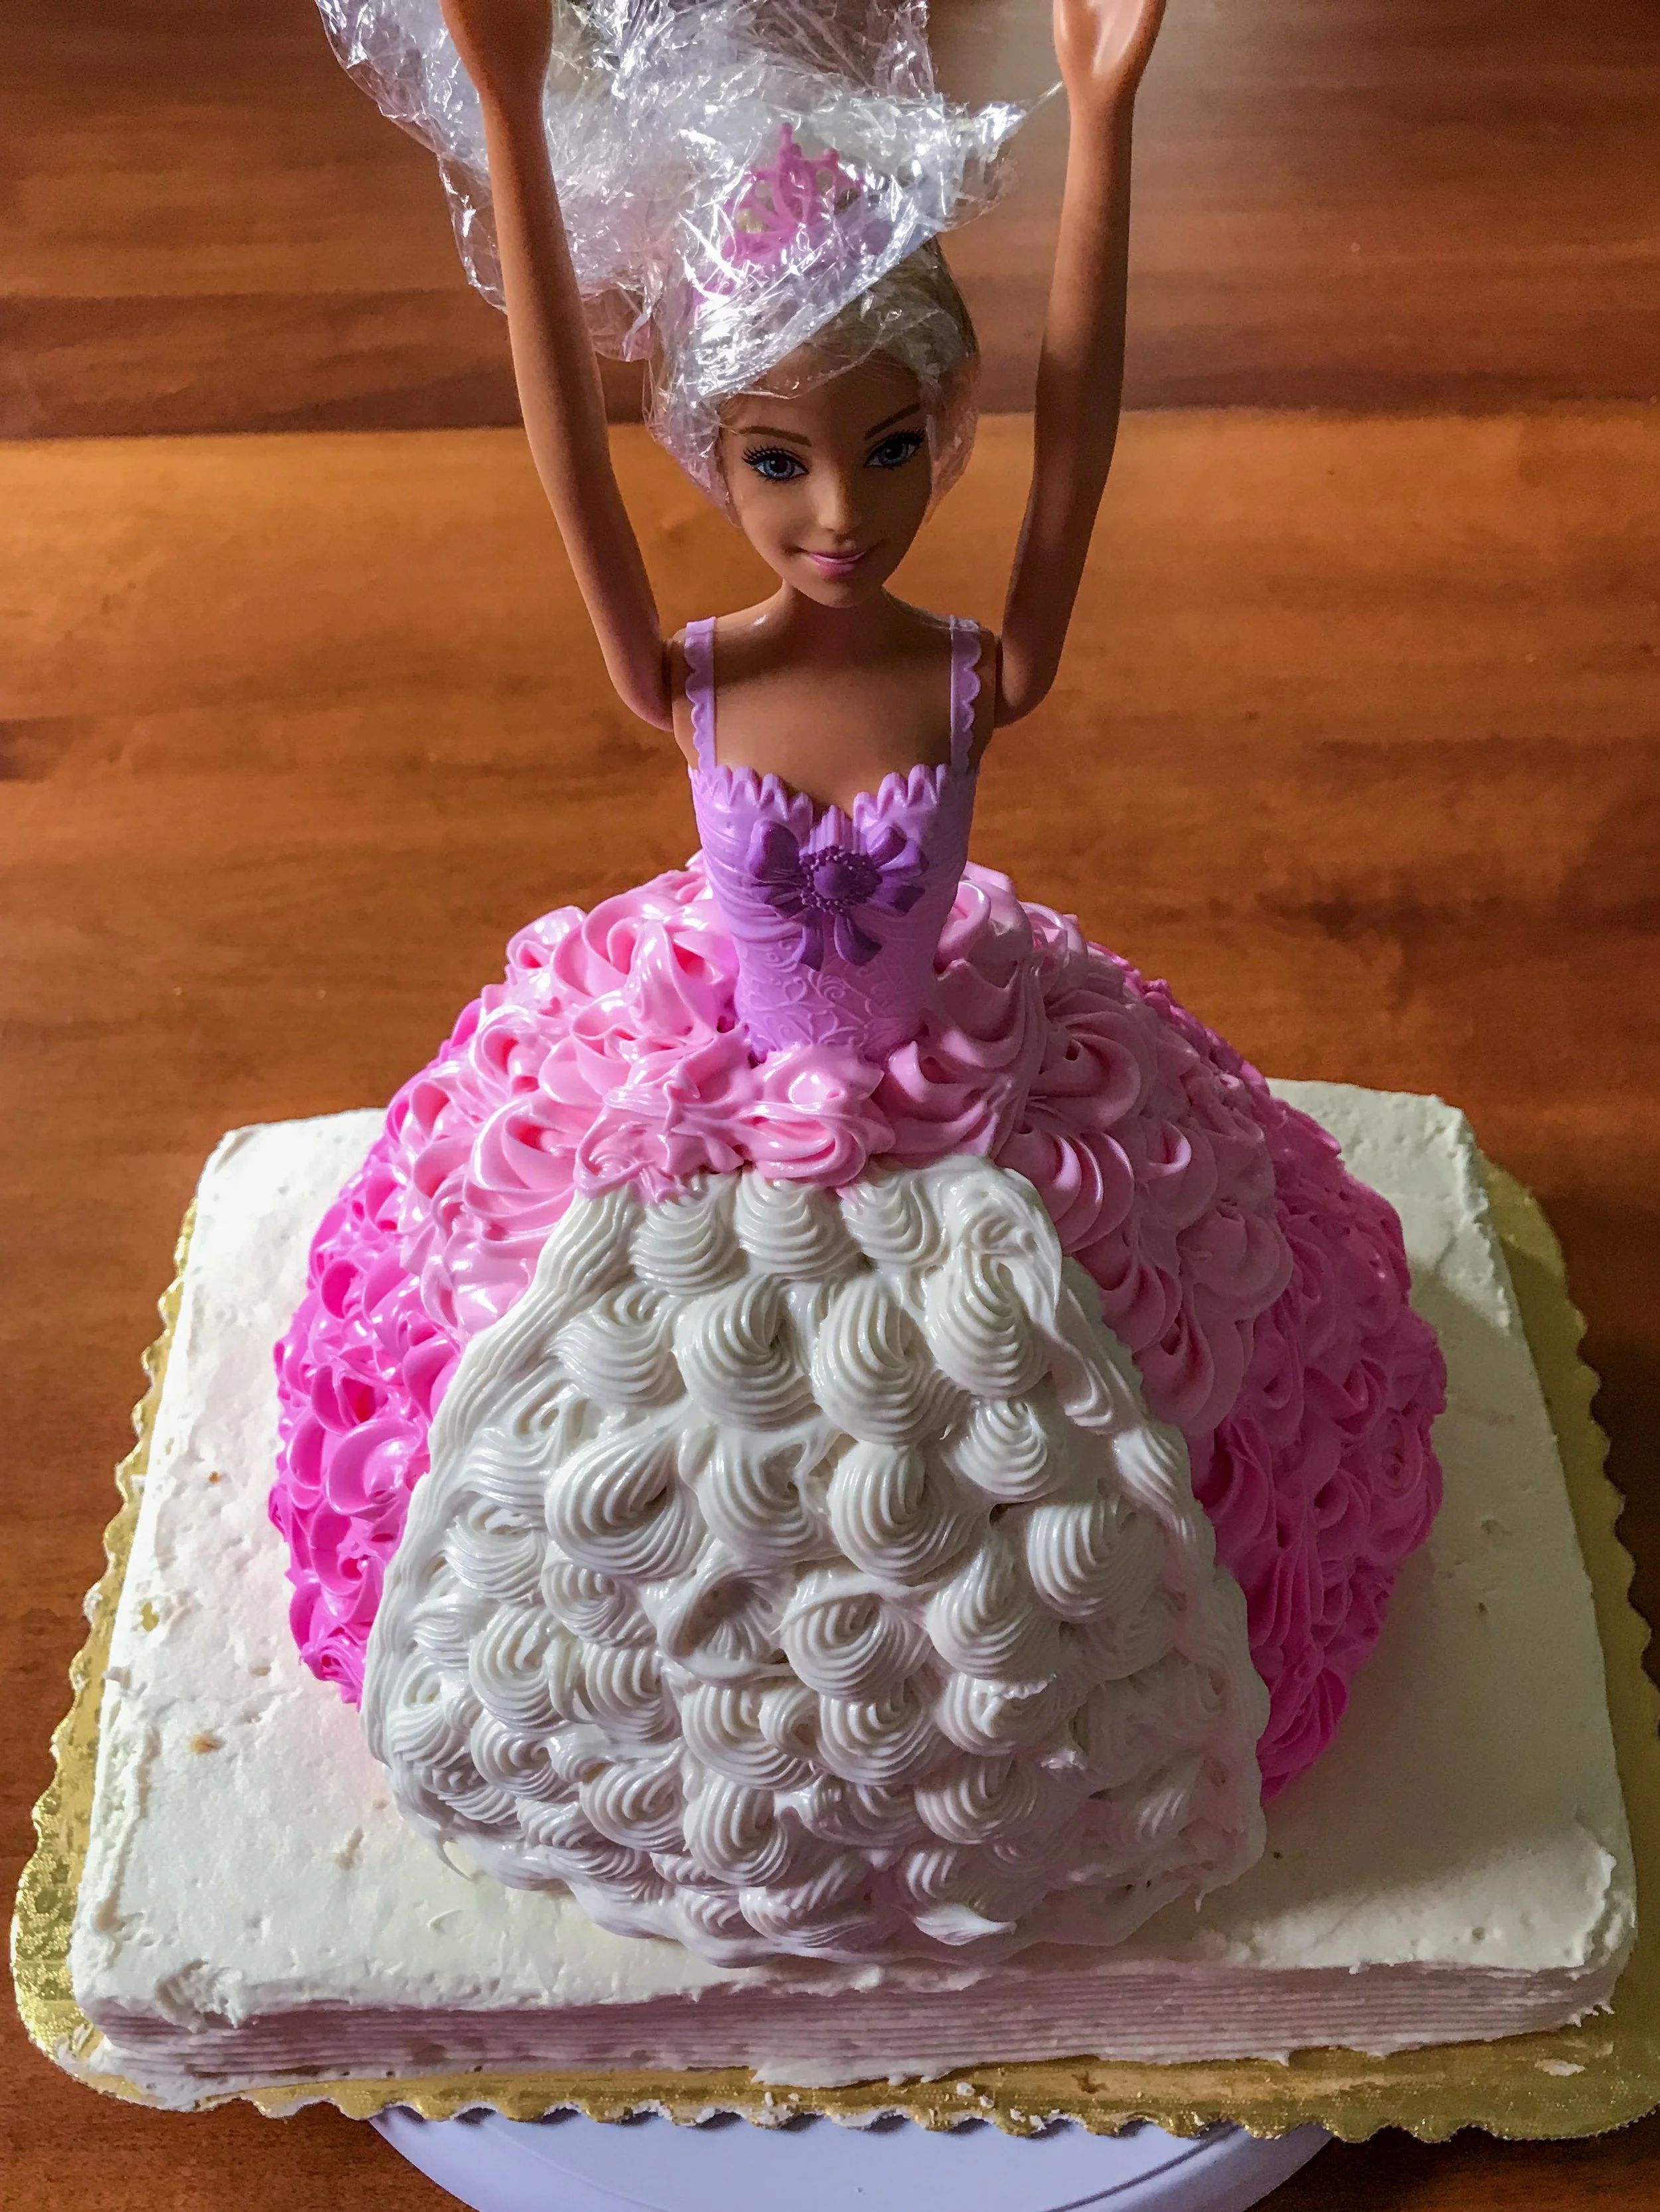
Step 3 - Prep your doll by removing any packaging and clothing. I chose a doll that had a built-in plastic bodice to help save me time when it comes to decorating her later. Wrap her hair (not her face, she won’t be able to breath but that’s okay) and her legs in clear plastic wrap to prevent frosting from getting her dirty.


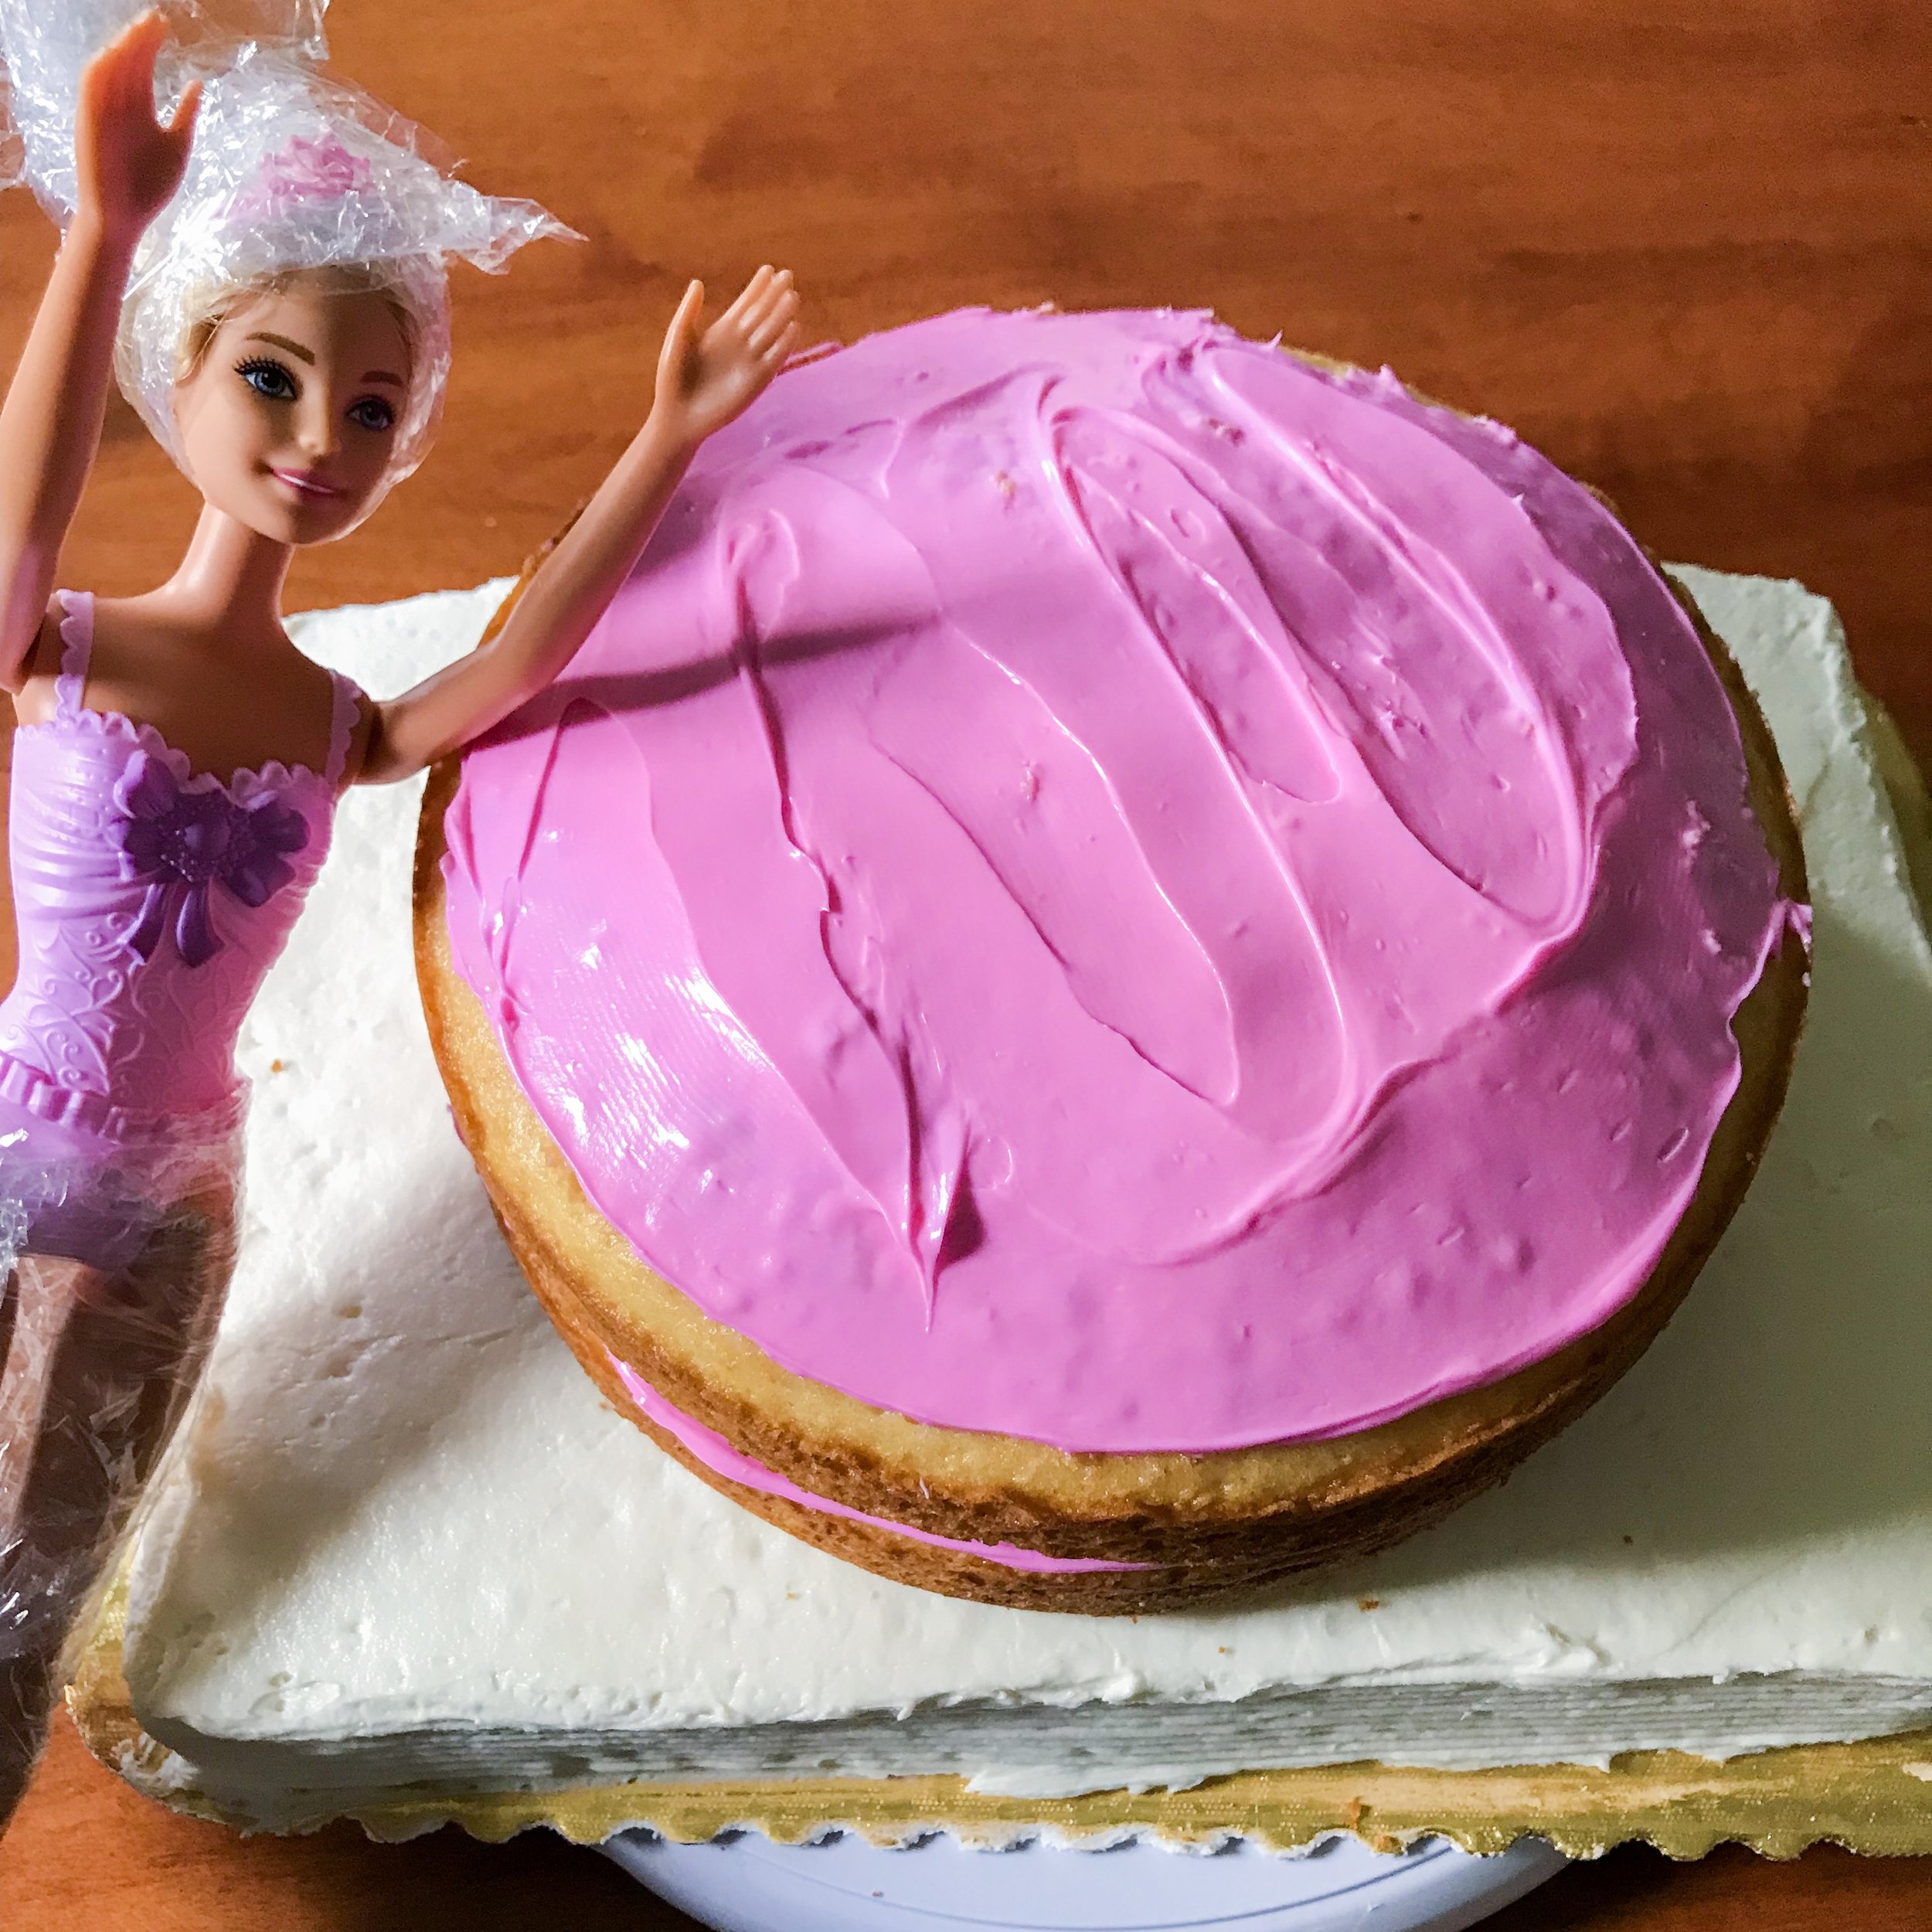
Step 4 - Place the first 8 inch round cake directly on the cake cardboard round (or on top of the sheet cake). Frost the top of this layer with a thin layer.

Step 5 - Place the second 8 inch round cake on top of previous layer. Frost the top of this layer with a thin layer.

Step 6 - Place the 6 inch round cake on top of previous layer. Do not frost the top of this layer yet.

Step 7 - Trim around the top of the second and third layers of cake at a 30-degree angle (as shown in the picture) with a sharp knife. This will shape the top of her dress. Save the trimmings, these will be used in one of the following steps.


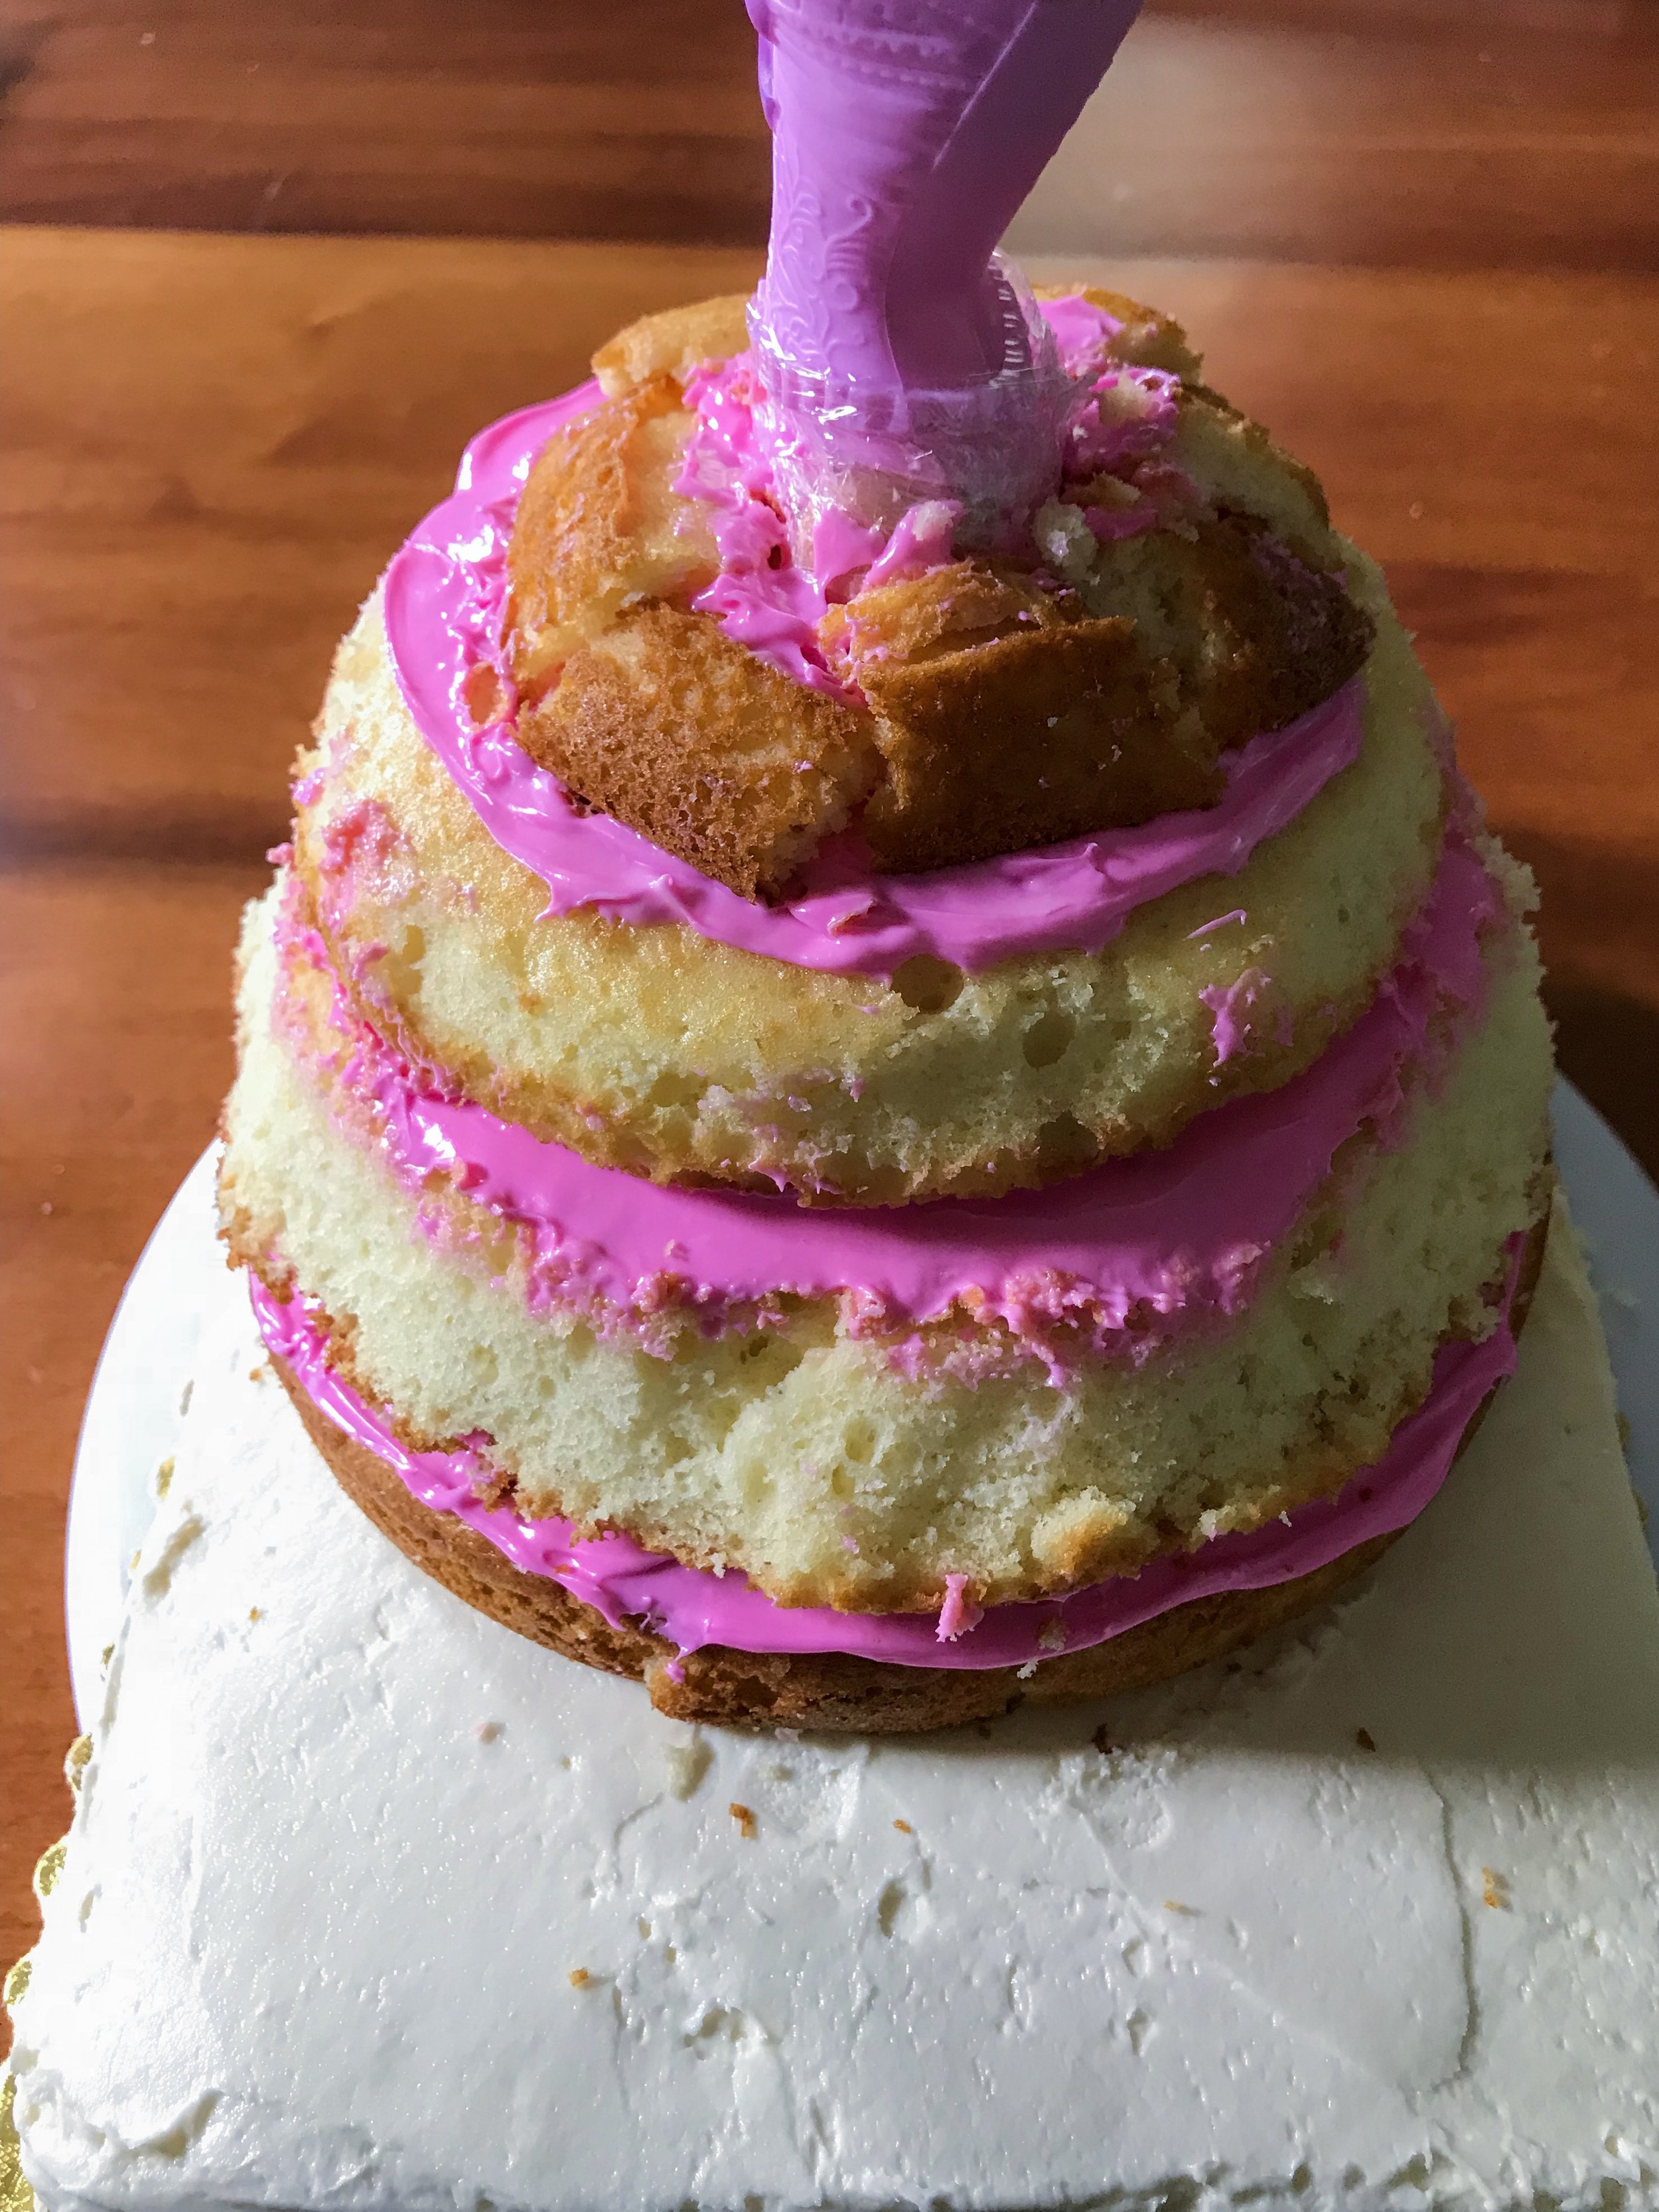
Step 8 - Create an opening for your dolls legs by locate the center of the cake. Push in the large plastic straw all the way down to the base to create that opening without damaging the intesgrity of the base. Barbie is very tall and will need a lot of leg room in the dress of the cake.

Step 9 - Remove the plastic straw then place your doll into the opening, feet first.


Step 10 - Frost the top of the last layer of cake with a thin layer of frosting, working around the Barbie legs.


Step 11 - Using the left-over trimmings from Step 7, add the last layer of cake. Cut and place the trimming pieces around her hips while matching the same angle that was cut into the dress edge in previous steps.
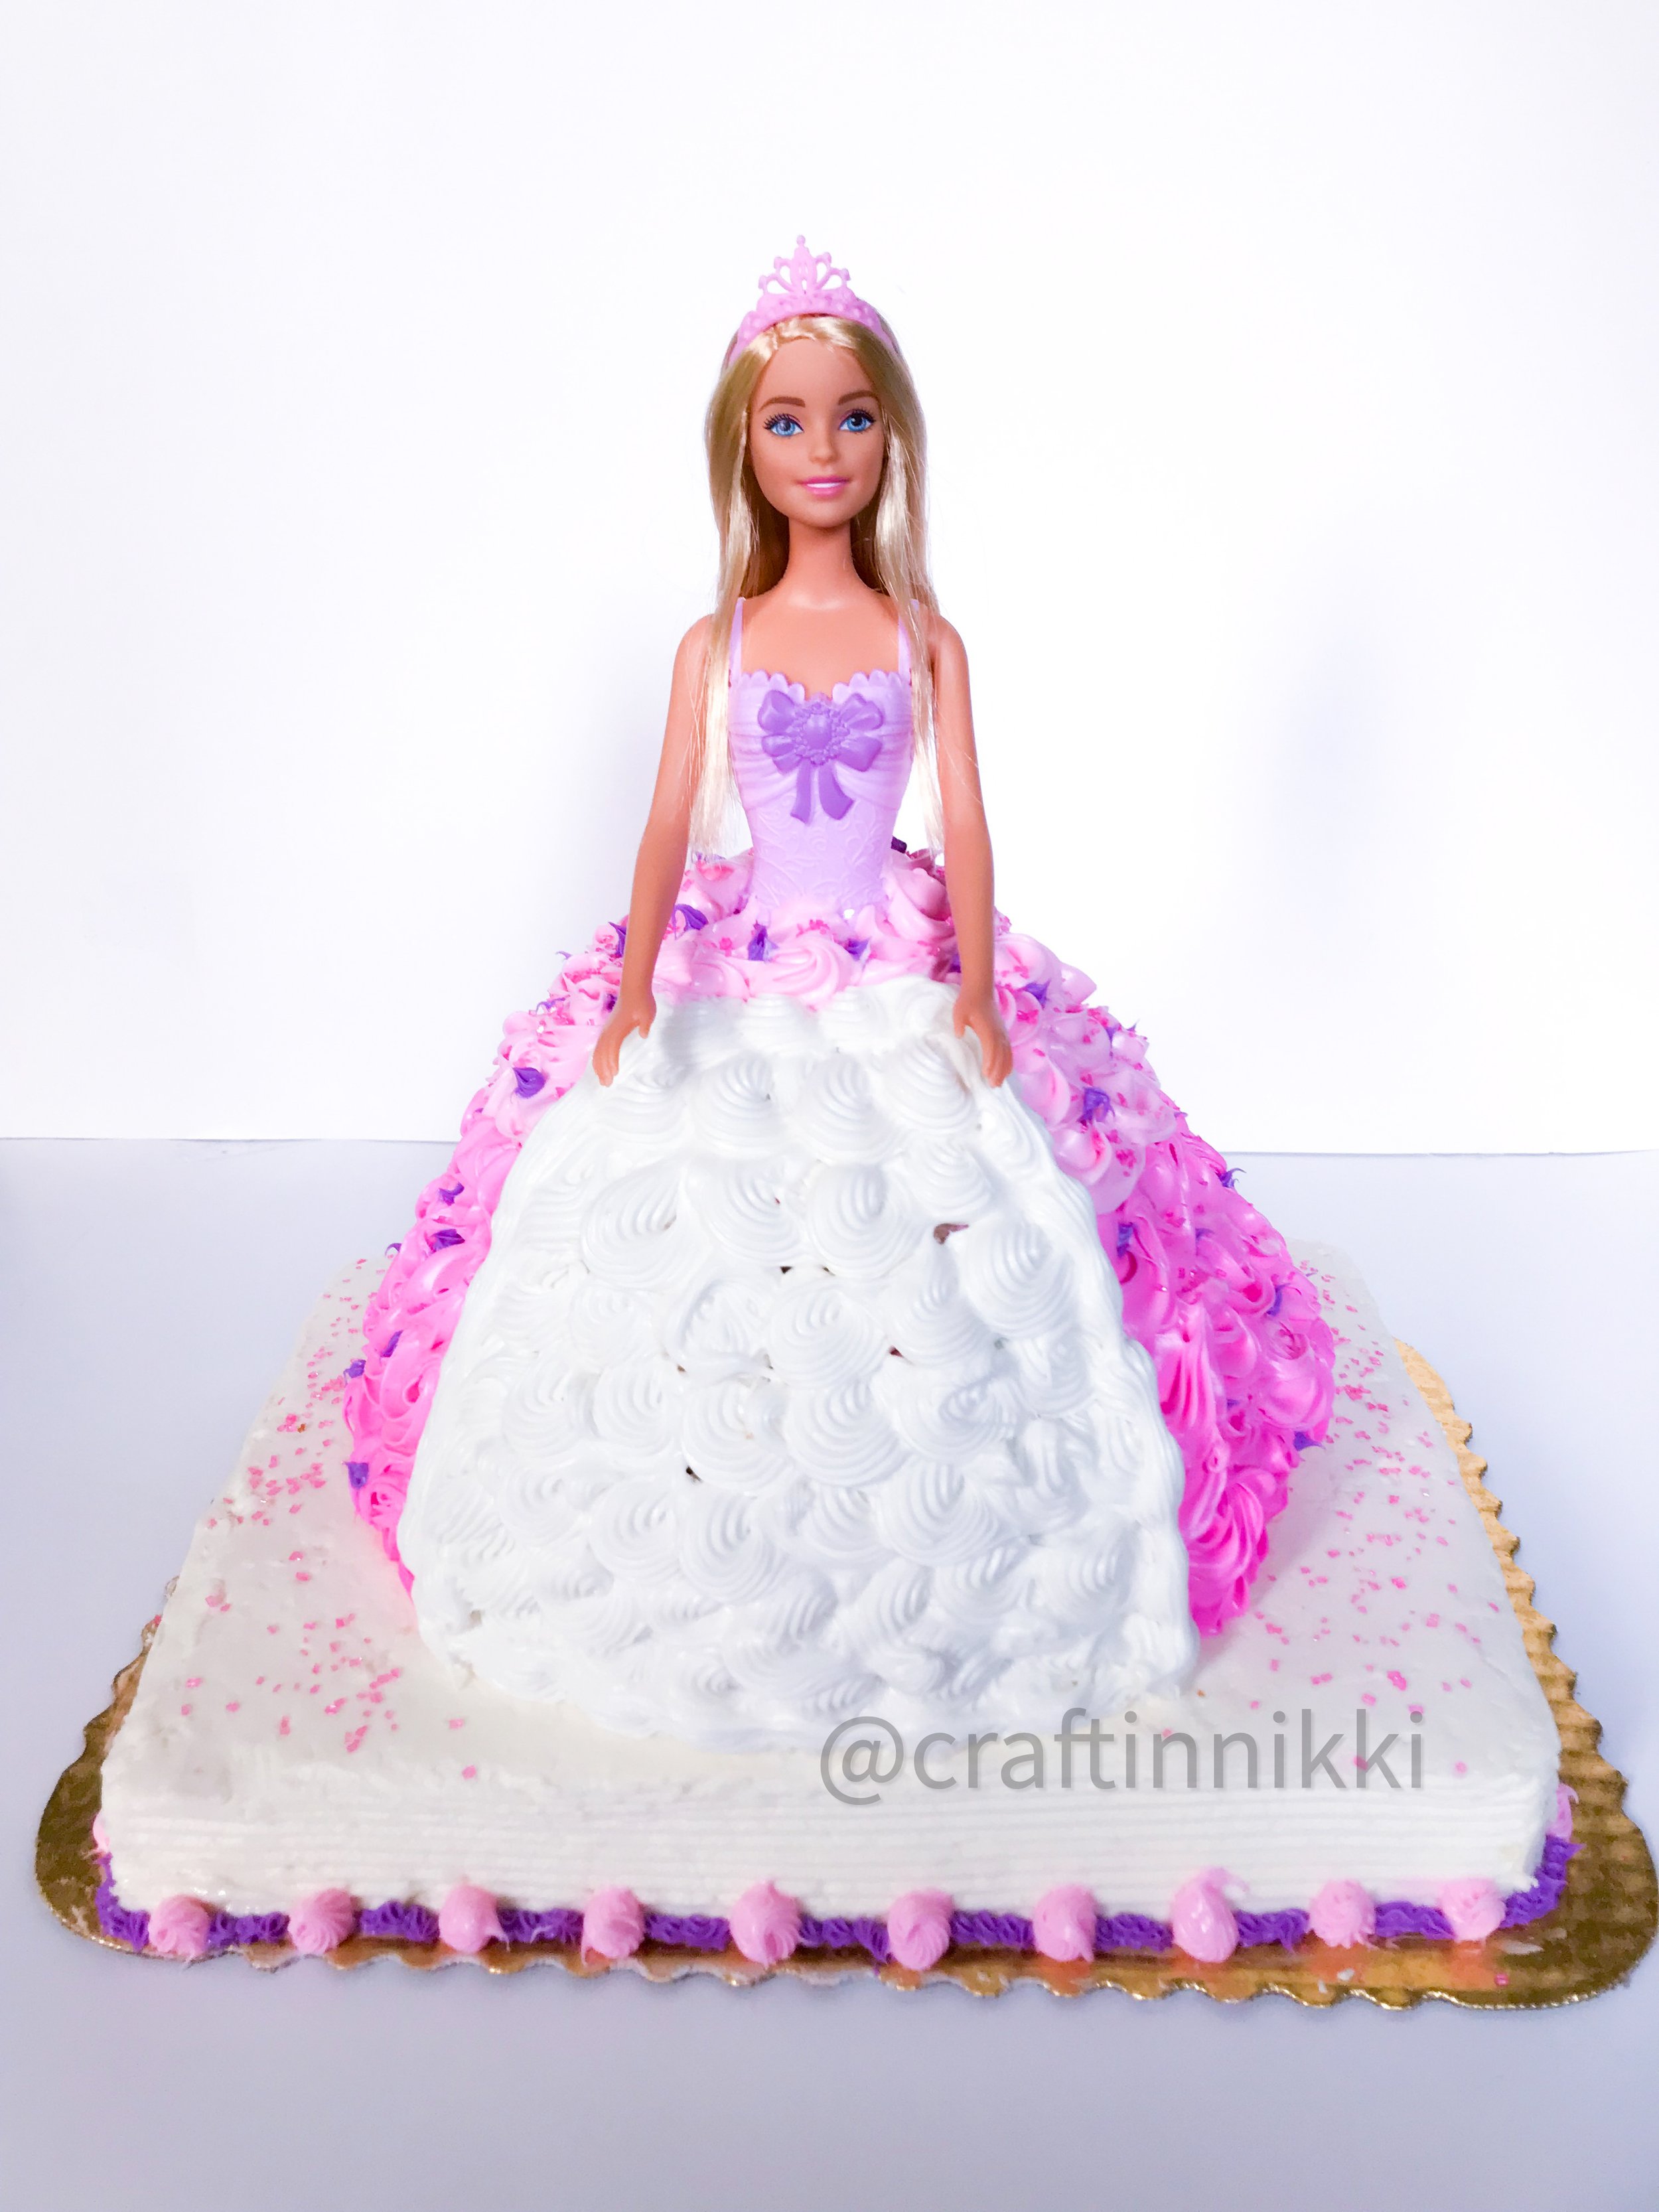
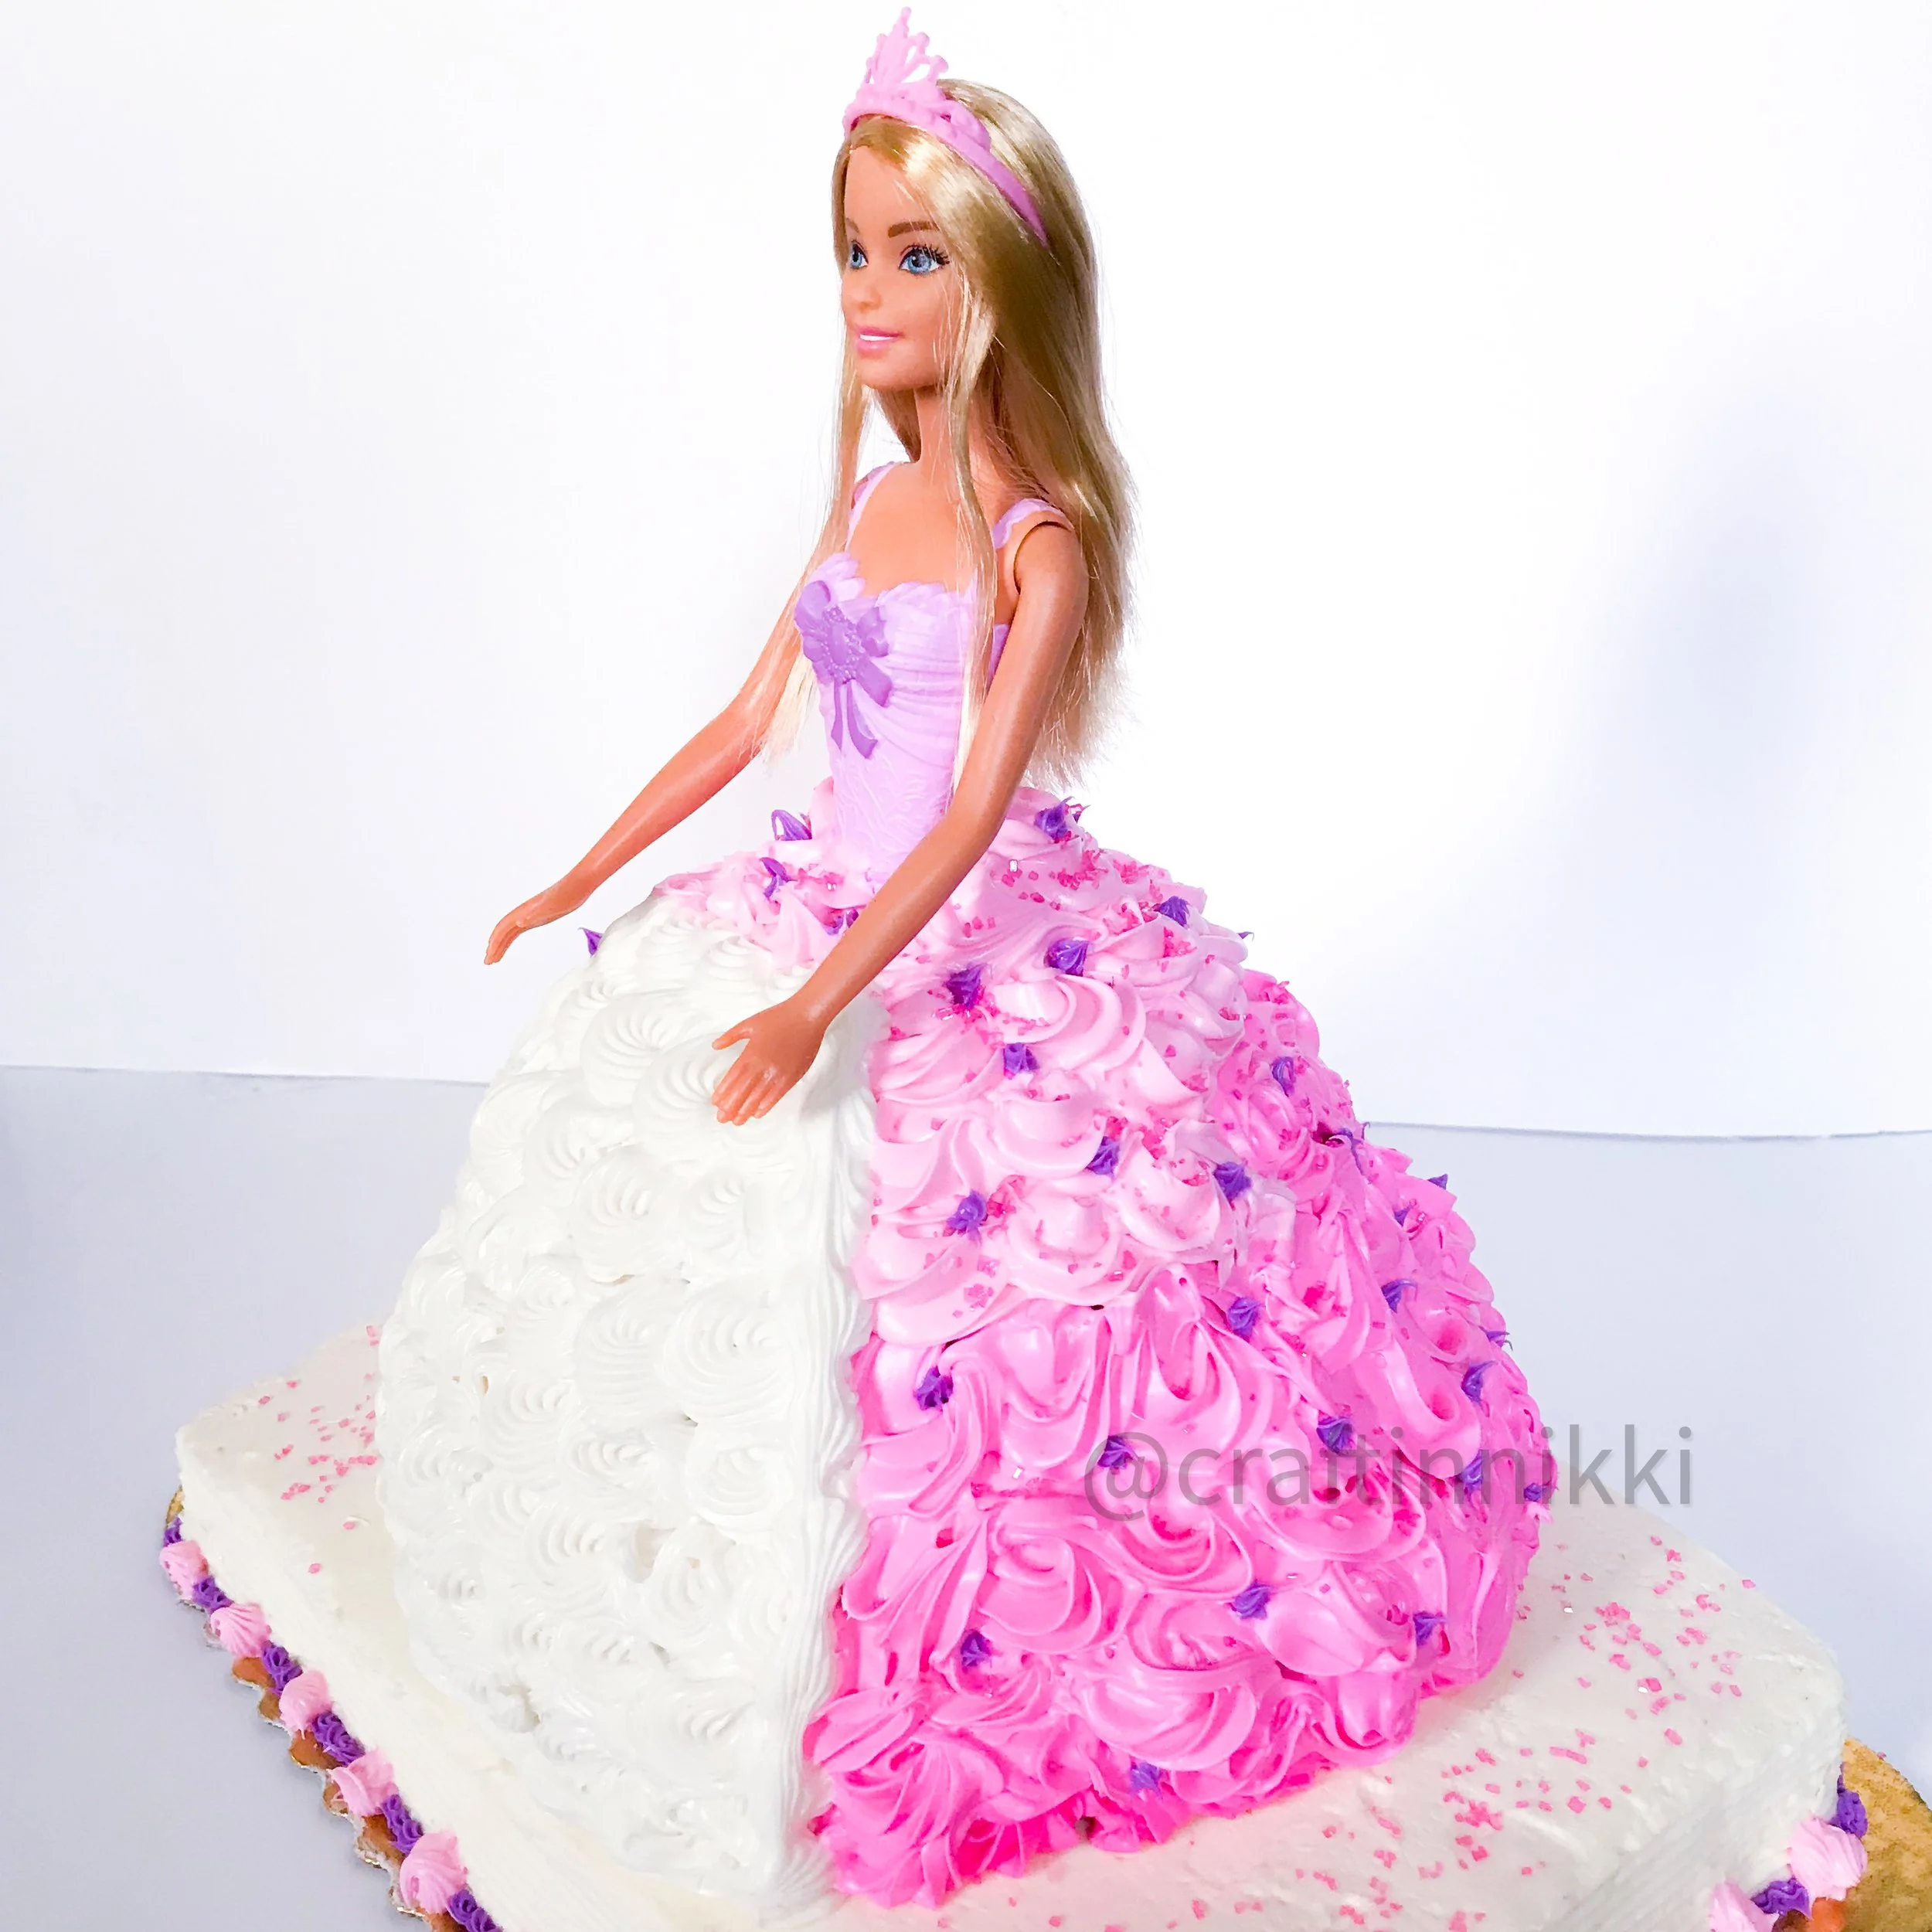
Step 12 - Grab your dress piping! Working from the bottom to the top and from hip to hip, use your first color (already in the frosting bag and piping tip). Create multiple circles while working in the same direction around the bottom of the skirt. I chose to leave a blank opening in the front to apply white frosting, but this is optional.
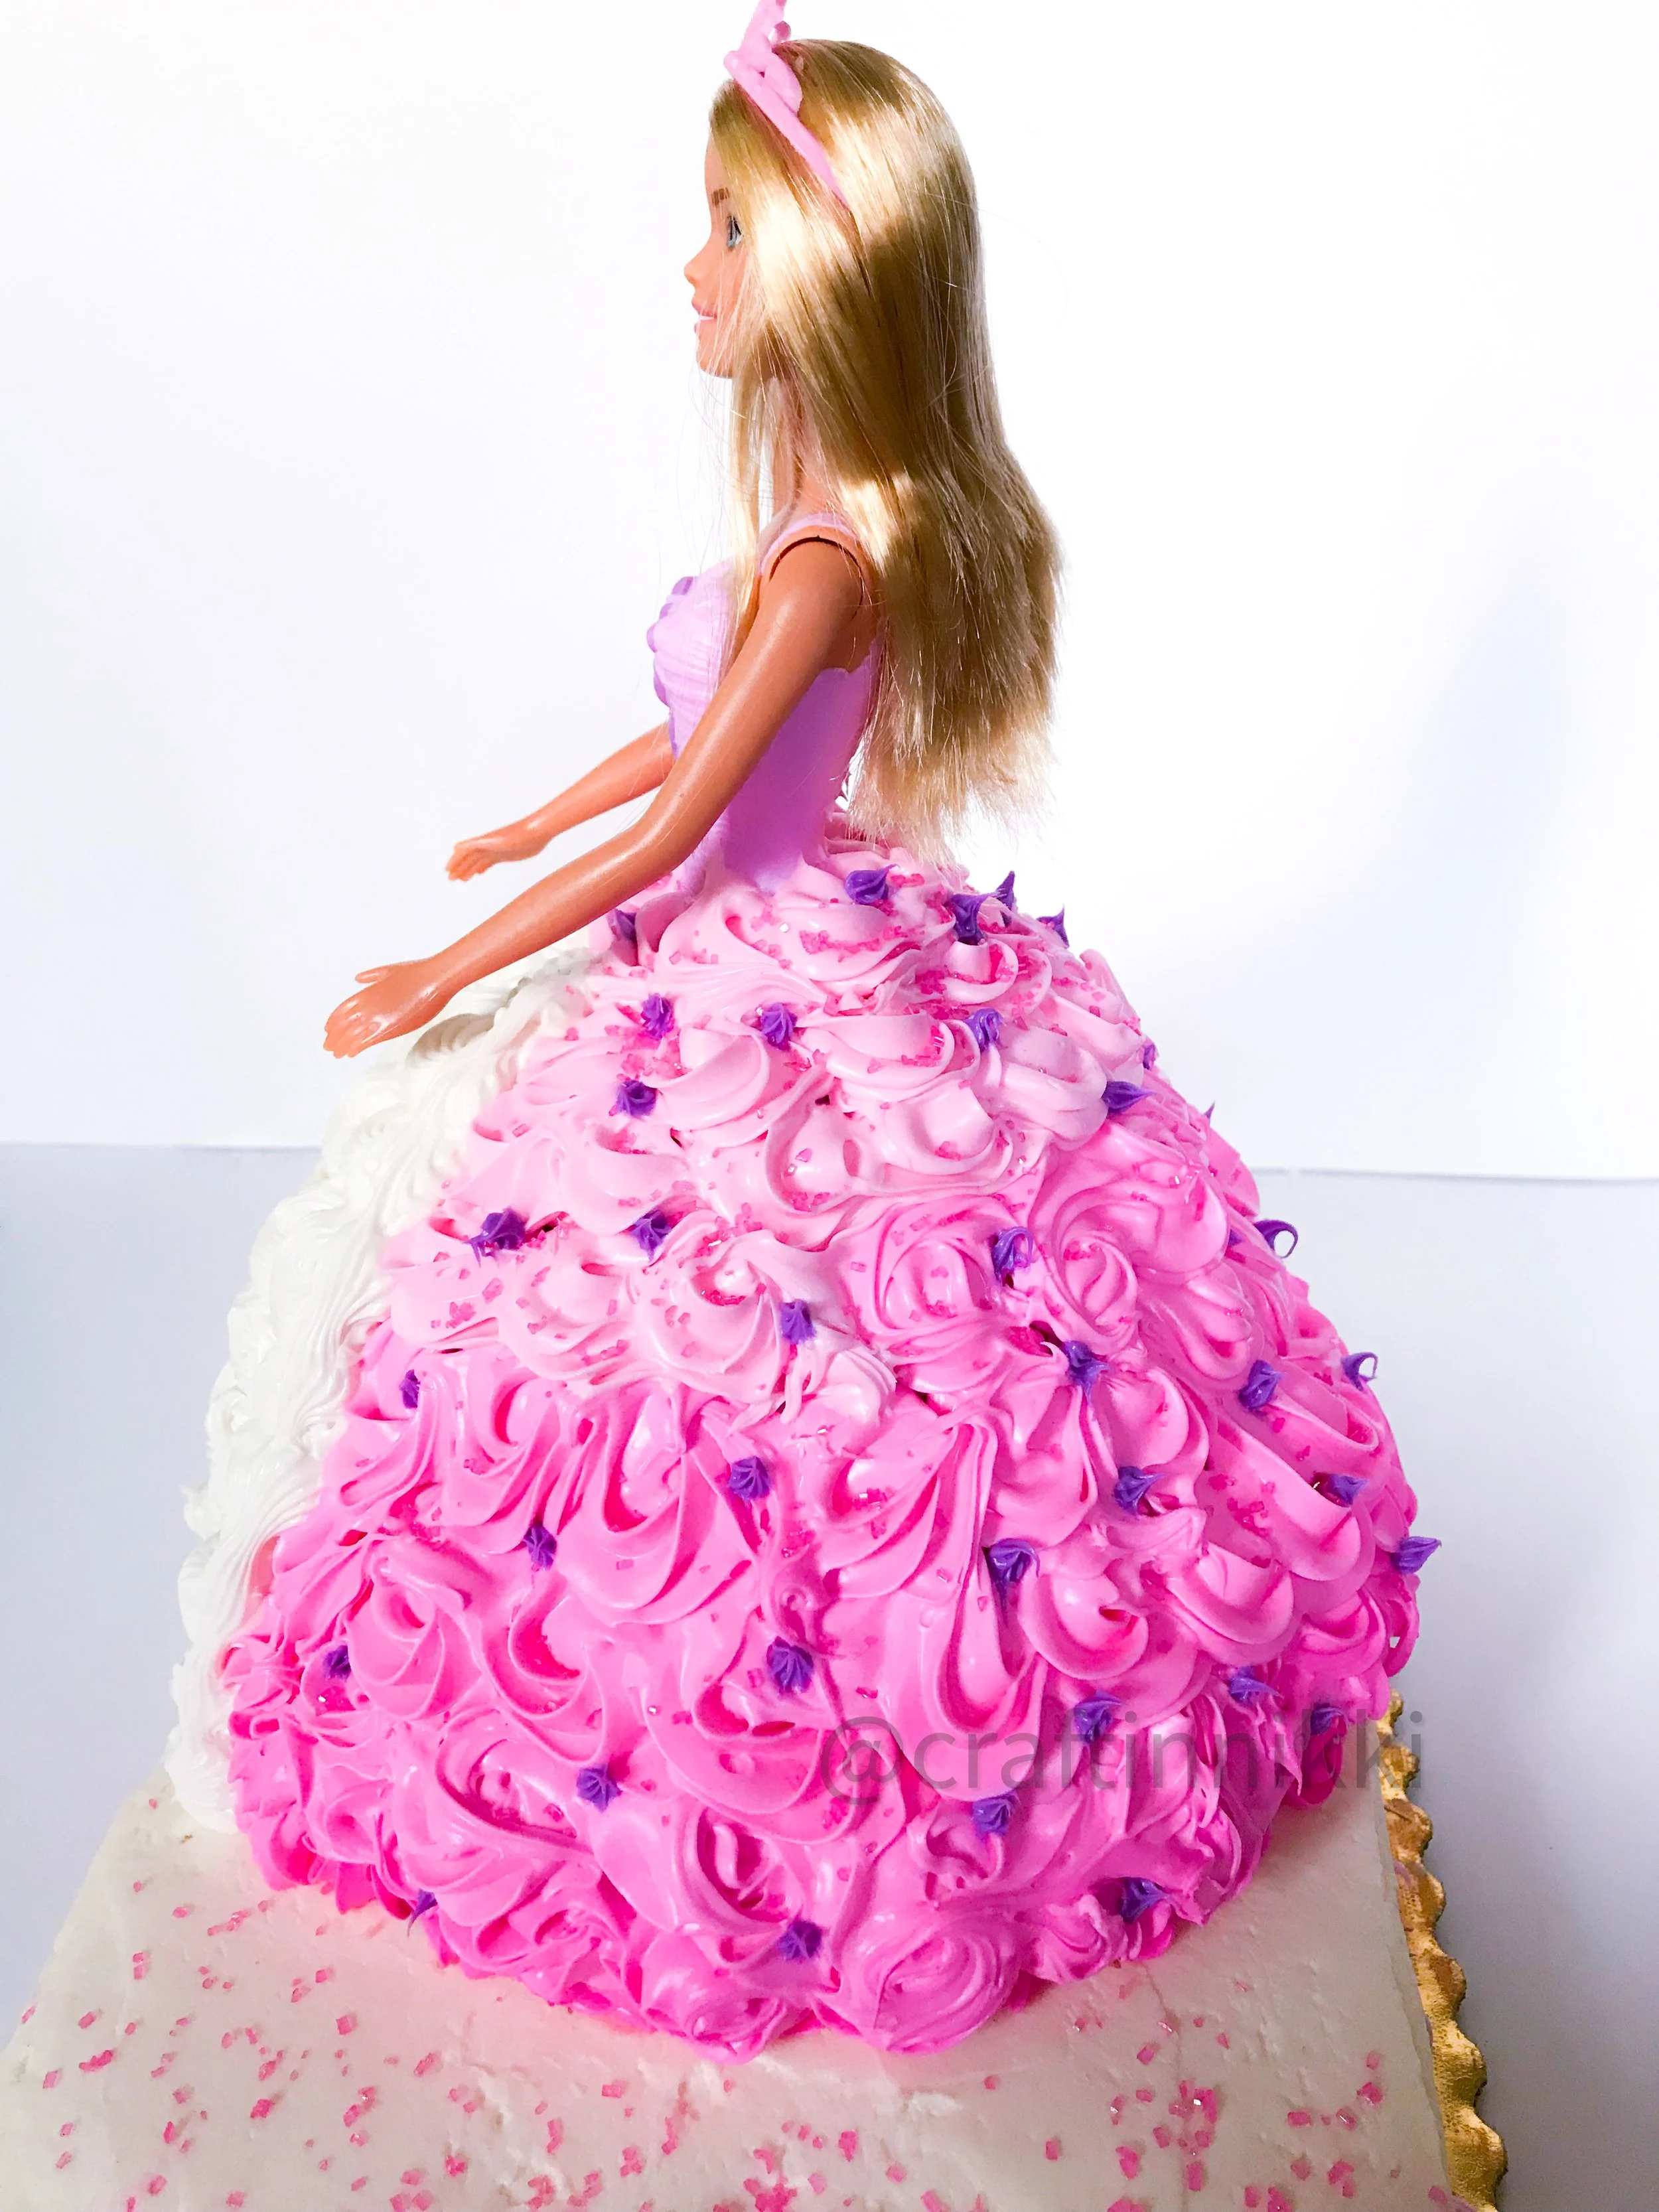
Keep applying layer upon layer of circles to create a pink ombre from light to dark.

Step 13 (Optional) - Using a different color, White, and tip, create different sized circles in the front of the skirt. Finish off by piping a simple stripe vertically on each side of this section.
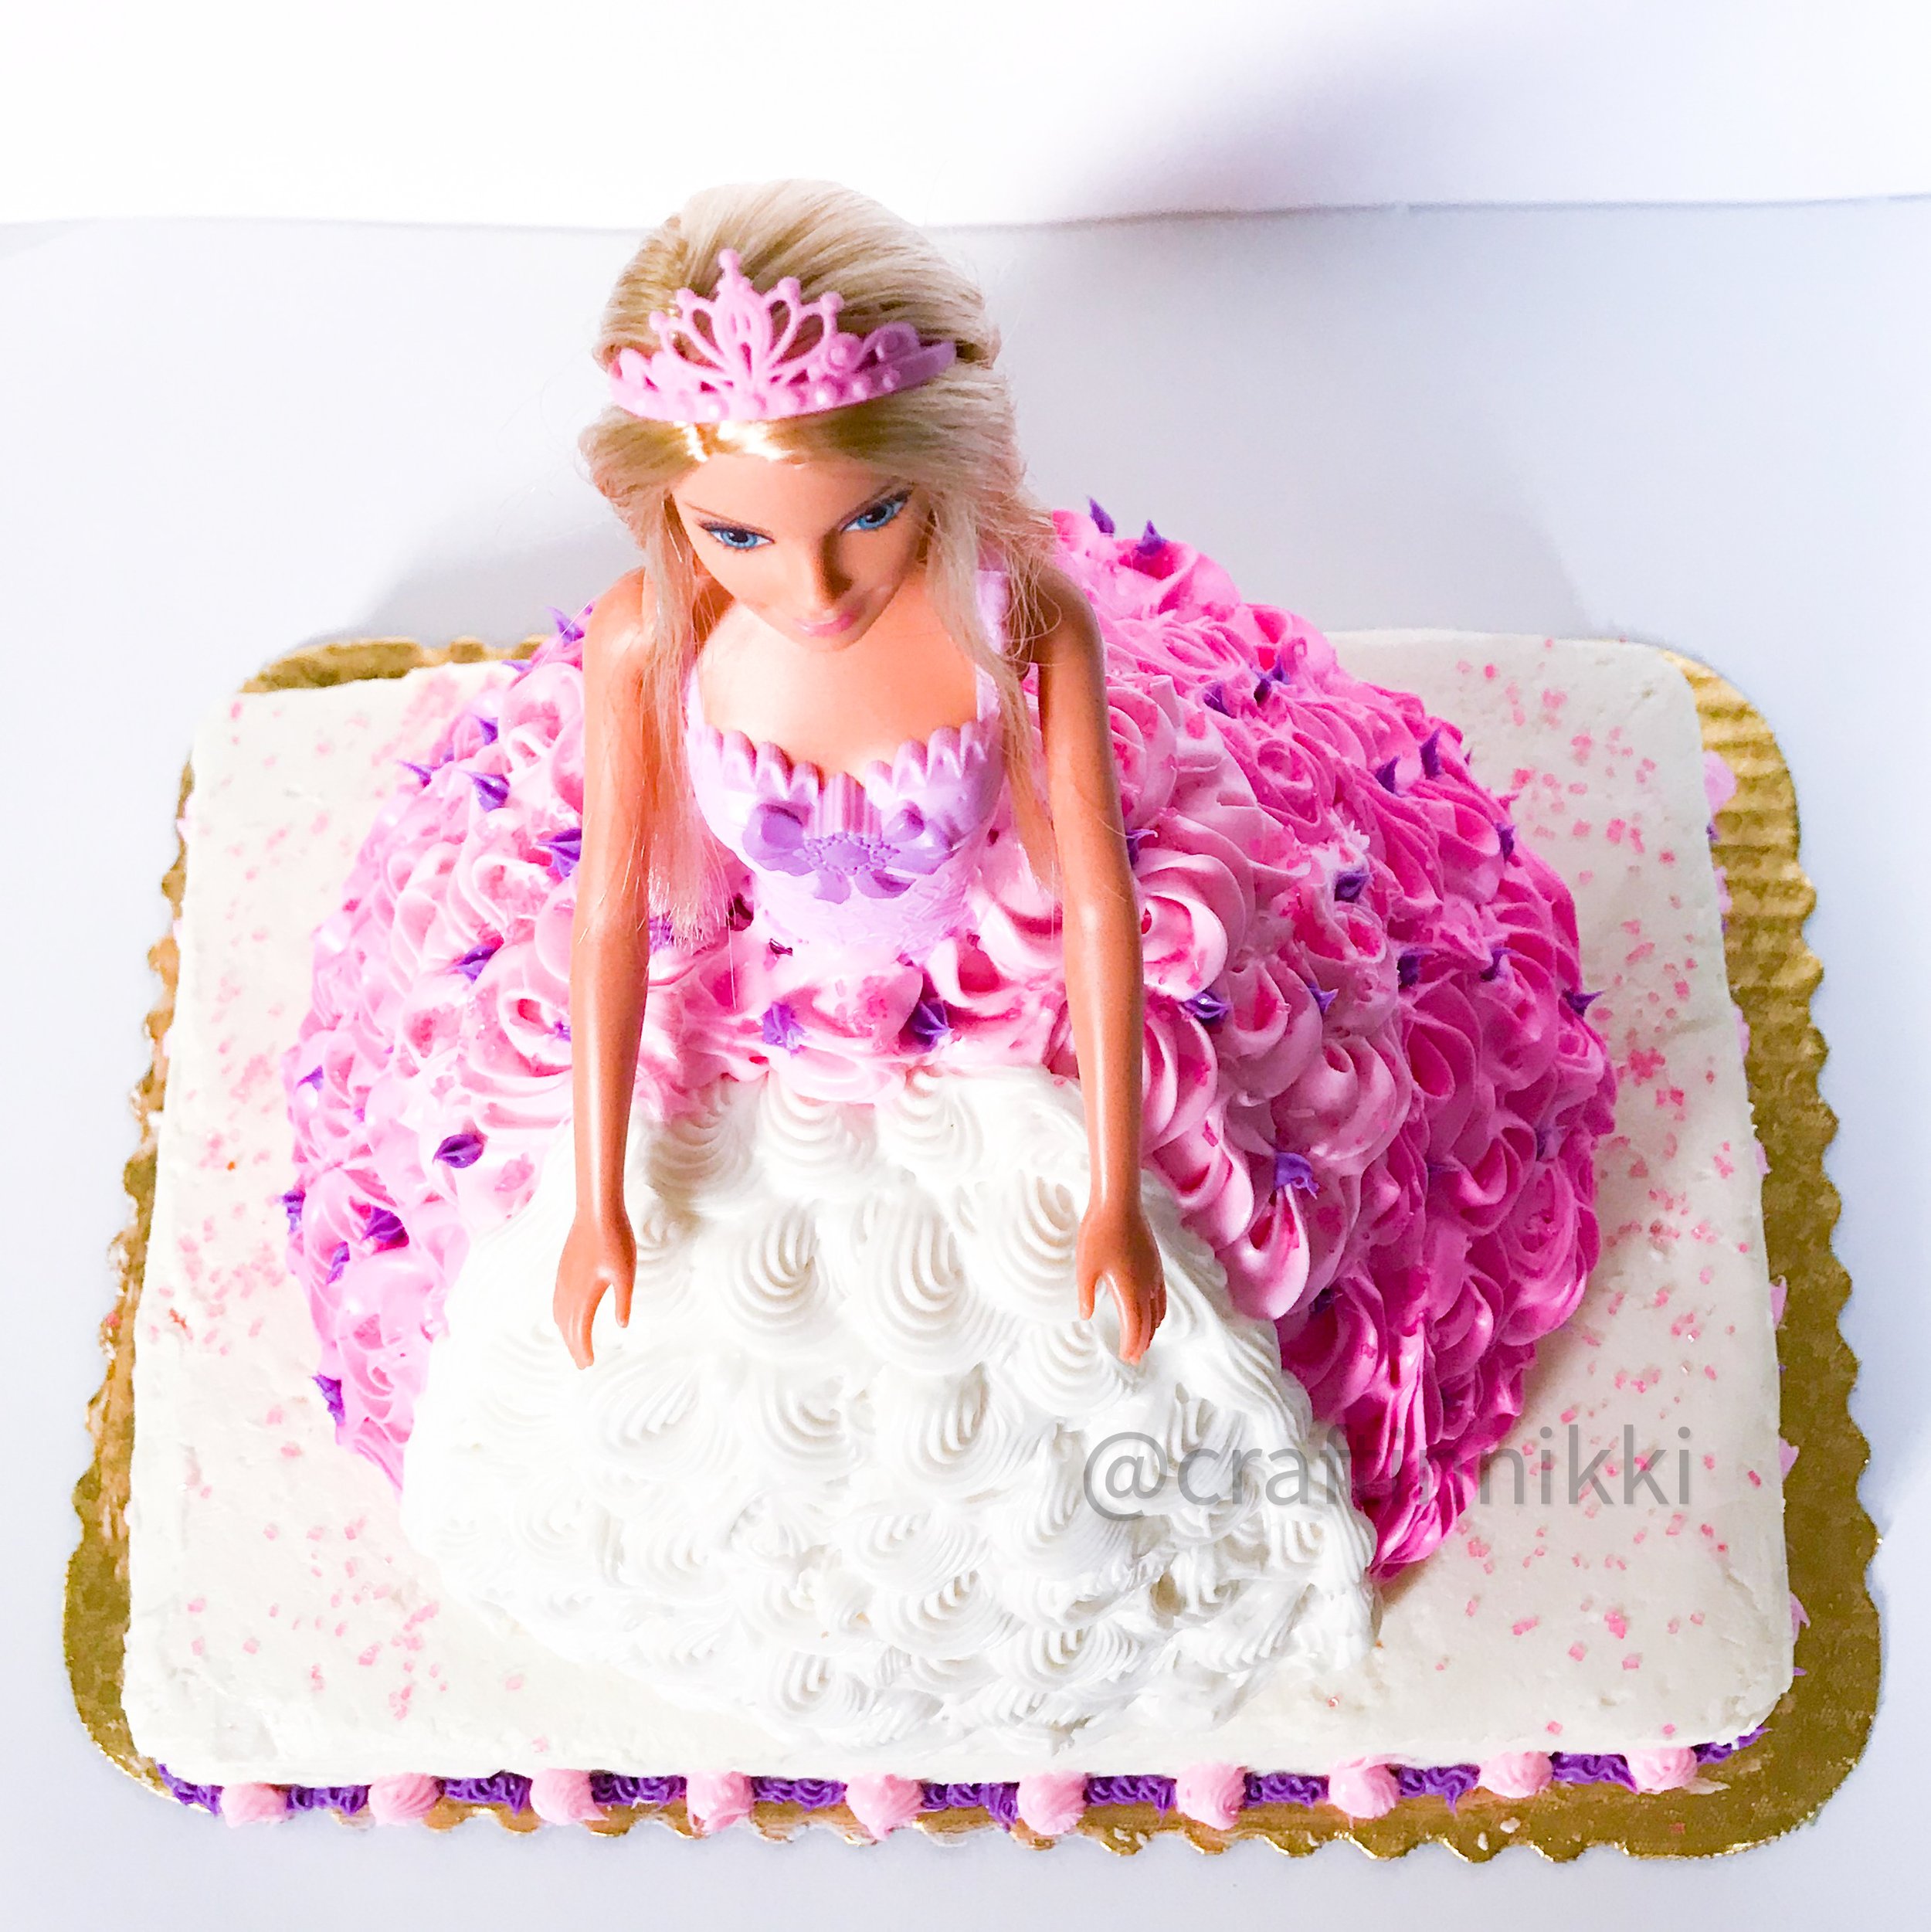
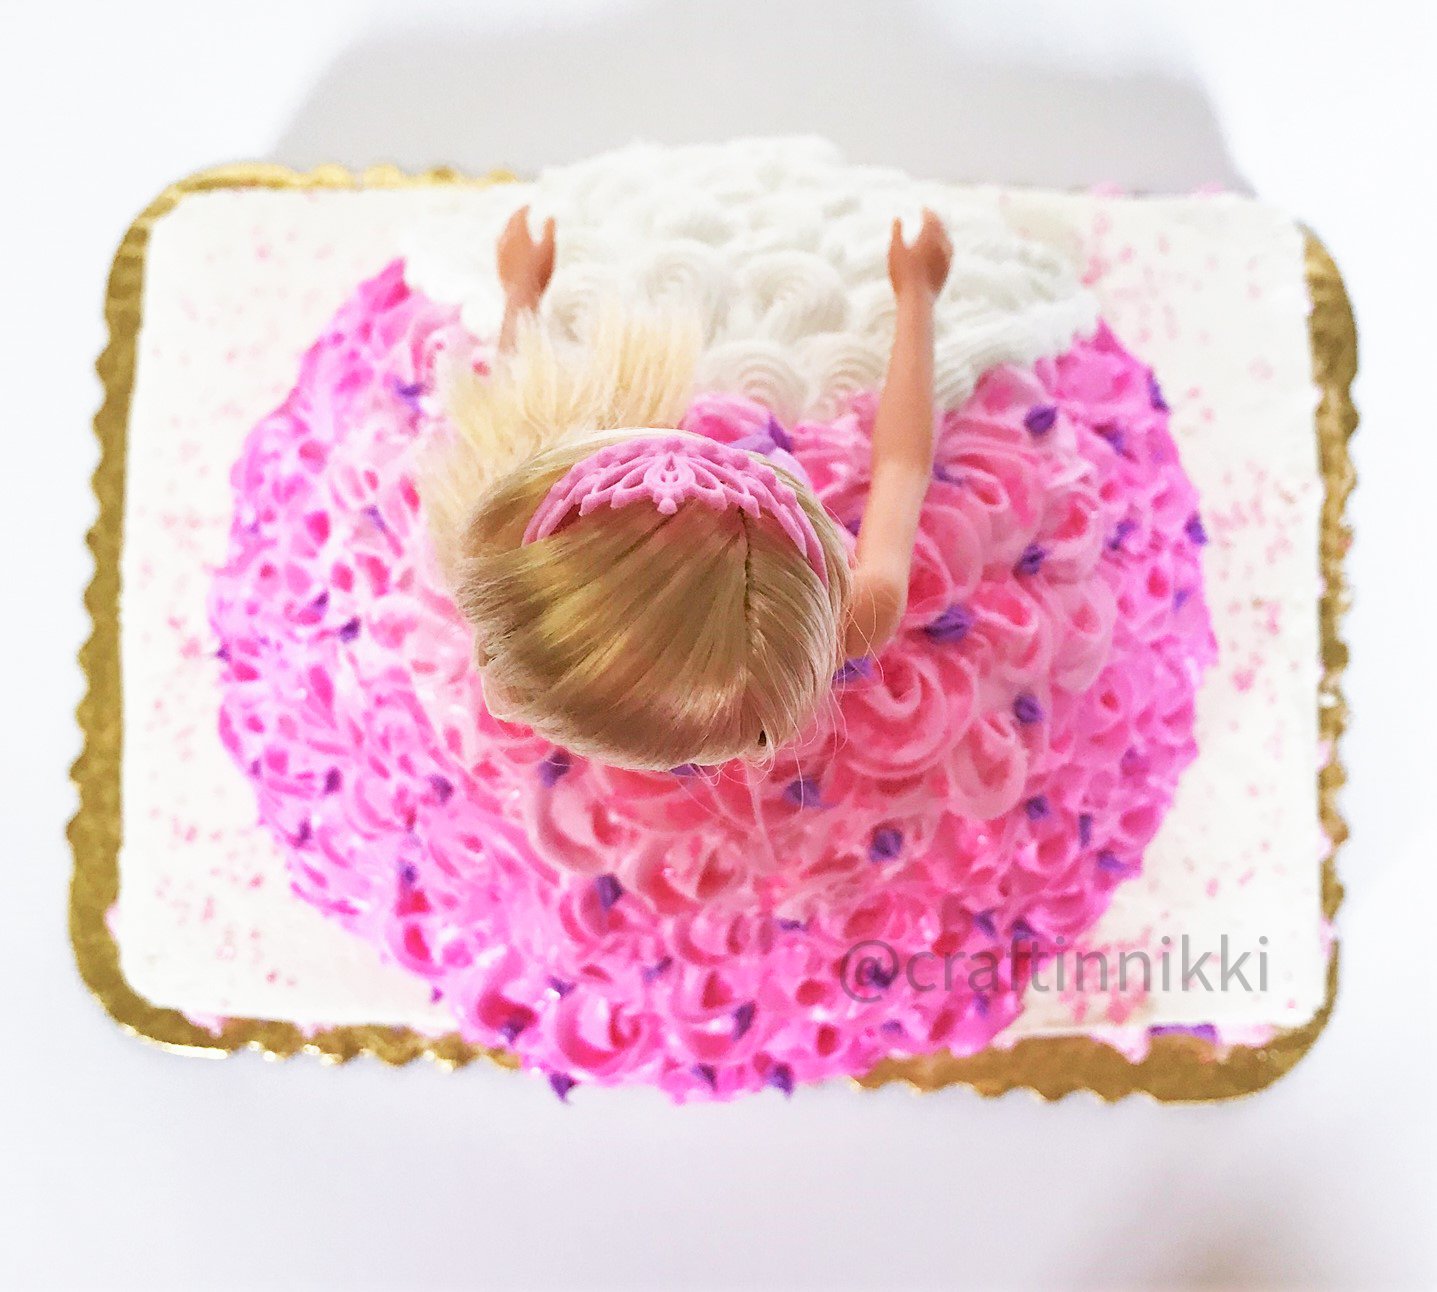
Step 14 (Optional) - Finish off the top of the skirt with one more round of Pink (or desired color). Apply any decorative sprinkles and other embellishments to the skirt and on top of the sheet cake, as needed.

Step 15 - Remove the plastic from around Barbie’s hair and fluff up her hair to get her camera ready.
Step 16 - Take photos…because you know you want to!
Congratulations on finishing your sugrary work-of-art! I hope you enjoyed making it and had fun with my easy tutorial. Now, go have fun at your party and enjoy some delicious cake.

Now that you have made your first tulle wreath, how many more do you plan on creating? There are endless possibilities of fun with design! Share your creations on Facebook and Instagram by tagging us with craftinnikki.
Thanks for creating with me and stop back for more help tips tips and fun tutorials!
Pin your favorite Craftin With Nikki Blog Post!